1. Introduction
This guide describes how to set up a Windows guest in the acontis Hypervisor. It is assumed, the steps listed in the Hypervisor Quick Start guide have been successfully executed.
2. Create folder for running the VM
In the first step, you have to create a folder where the VM shall be stored.
The template folder has to be copied into a new VM specific folder, we will use the folder name vm1 in this example.
cd /hv/VMs
cp -R vm_template vm1
3. Copy Windows ISO installation media to Linux
In a first step, we need to copy the Windows installation media (ISO file) into the Hypervisor filesystem.
3.1. Using Filezilla (recommended)
See details in the Ubuntu Guest Guide
4. Guest Configuration
Prior to installing the guest, we need to configure the respective virtual machine (e.g. number of CPU cores, network settings etc.).
The configuration file vmconfig.sh is located in the VM directory. The meaning of each configuration setting is explained in detail in this file.
You need to edit this file and adjust according to your needs and environment.
The number of CPU cores must not exceed the number of physical cores available in the system and not assigned to Real-time guests. For example, if on a quad core CPU, you need 2 cores for Real-time guests, the number of cores for the Windows guest must not exceed 2.
gedit /hv/VMs/vm1/vmconfig.sh
# Adapt following lines to your system and needs:
vmname=...
vmid=...
windows_guest=...
cdrom_iso=...
num_cpus=...
ramsize=...
By default, the network connection is set up automatically (using DHCP). Please check the hypervisor manual for other settings.
Caution
Automatic network setting will only work, if the Ethernet cable is connected!
Caution
Please do not configure more CPUs than physically available (CPUs used for the Real-time OS are not available for the Windows guest).
Example: The maximum number of of CPUs on a quad-core CPU where 1 CPU is used for the Real-time OS is 3.
Caution
Please do not configure more RAM than available. The VM may unexpectedly crash if too much RAM is configured. You can determine the available RAM as follows:
cat /proc/meminfo | grep MemAvailable
5. Guest Installation
After VM configuration you need to start the script vmrun.sh for the first time. The remote viewer will start and boot the guest.
cd /hv/VMs/vm1
sudo ./vmrun.sh
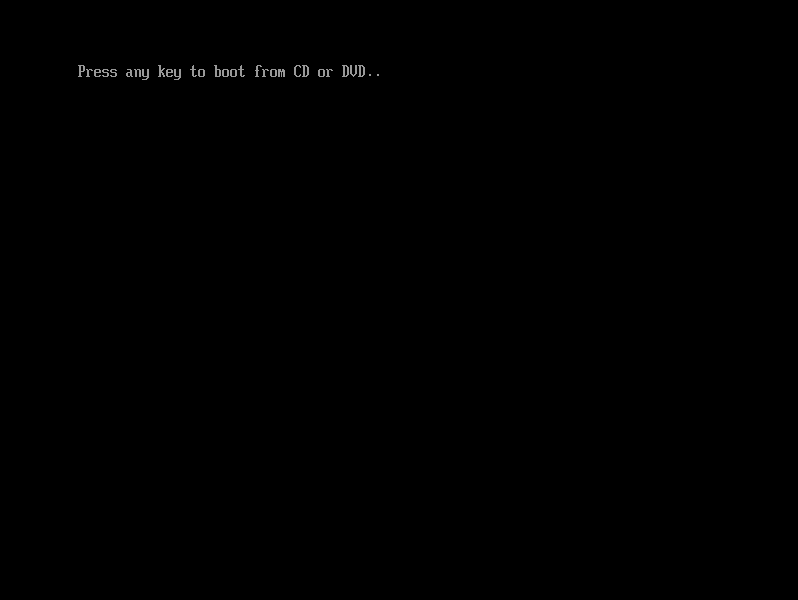
If cdrom_iso is configured with an ISO file you need to press a key to boot from it:
Hint
In case no key was pressed in time or cdrom_iso was not configured the EFI shell will be started.
Option a) You can leave into BIOS by entering
exit. If you also leave BIOS the boot begins again and you can press a key to boot from CD.- Option b) You can manually start the CD’s bootloader by entering
$ FS0:$ \EFI\BOOT\BOOTX64.EFI
6. Windows Installation
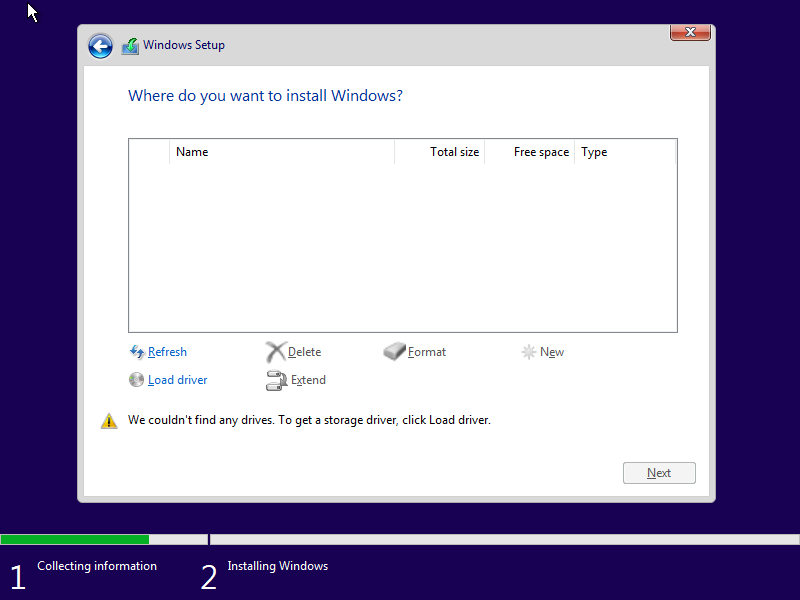
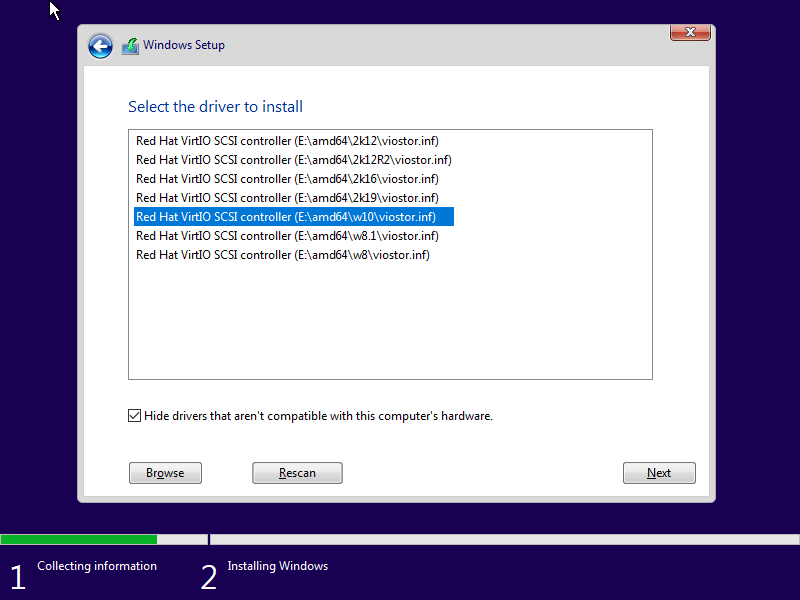
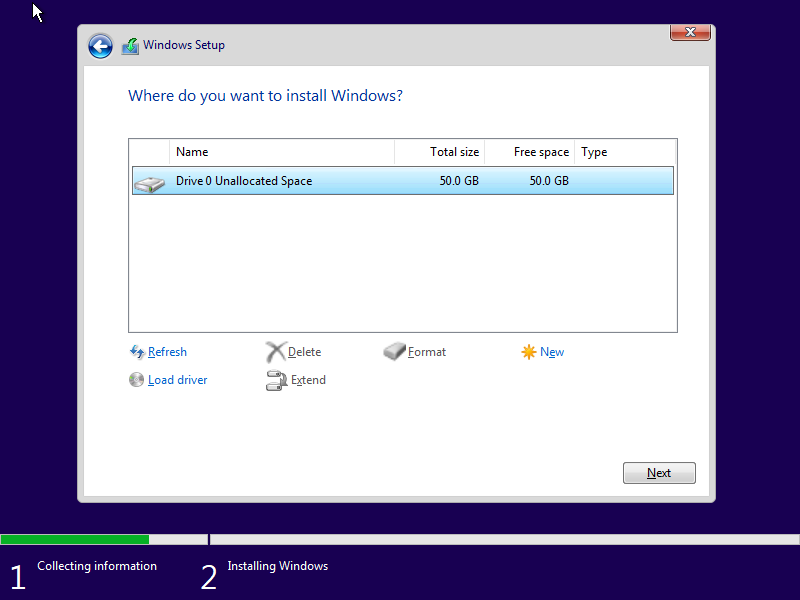
You need to browse to the CD Drive with the virtio drivers. Then select the appropriate driver (viostor).
7. Hypervisor Guest Tools
After successfully installing Windows you need to install the SPICE Windows guest tools.
Open the Windows Explorer and install the spice guest tools.
The installation file is located in CD Drive (E:) virtio-win-0.1.215: virtio-win-guest-tools. Select and start to install these tools. In case a message box appears to confirm driver installation, please confirm install the driver(s).
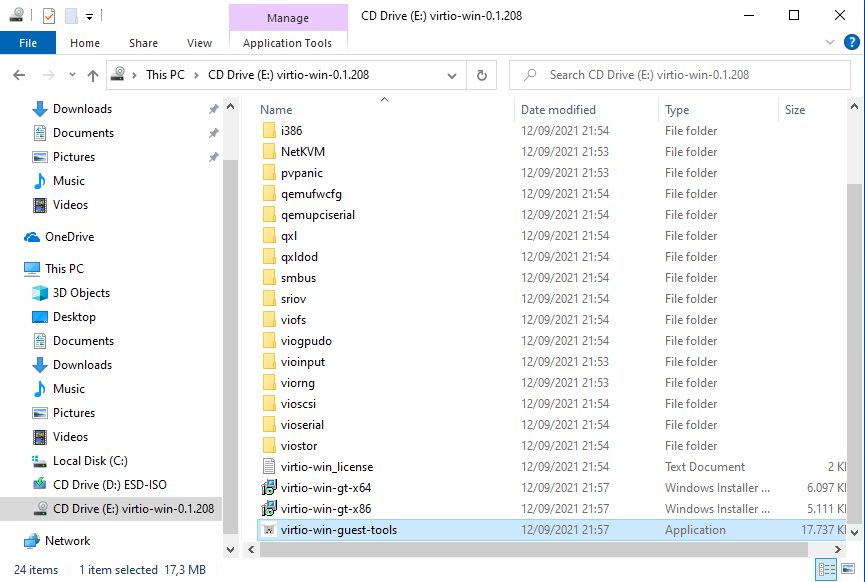
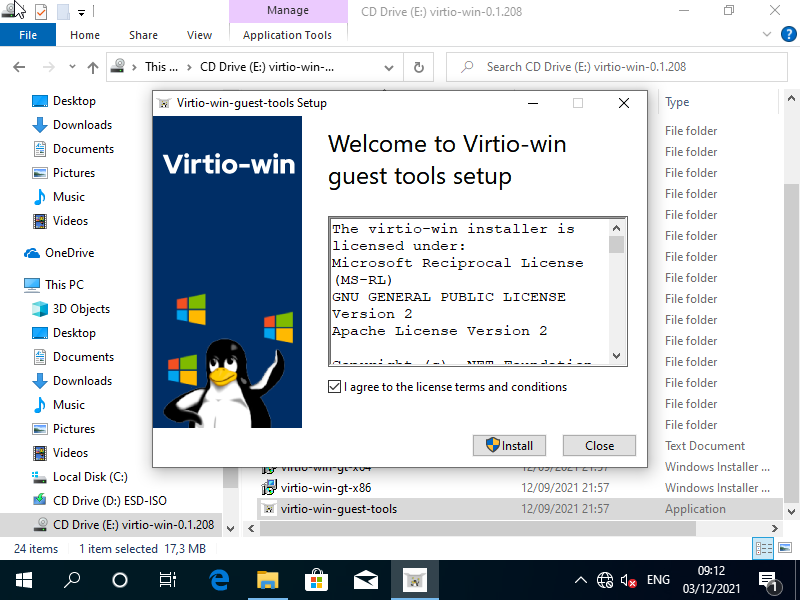
After the setup finished, you may not be able to use the mouse anymore. This is related to a new driver installed which is not supported by the viewer application. In any case, close the setup message box (type enter, while the focus is on the finish box).
Shutdown Windows
You need to shut down the guest (do NOT reboot Windows!). If this not possible inside the guest, please use the ./vmshtdn.sh script. If shutdown is blocked, you need to close the setup windows before (e.g. using tab keys to select the finish button).
Adjust the file
vmconfig.sh(to avoid booting the installation media again)gedit /hv/VMs/vm1/vmconfig.shcomment "cdrom_iso" with #
Start the Windows guest
./vmrun.sh
Due to hardware changes, Windows may automatically reboot once. Mouse and desktop may still not work properly. In this case, please install all the latest Windows updates.
8. RTOS Communication Support
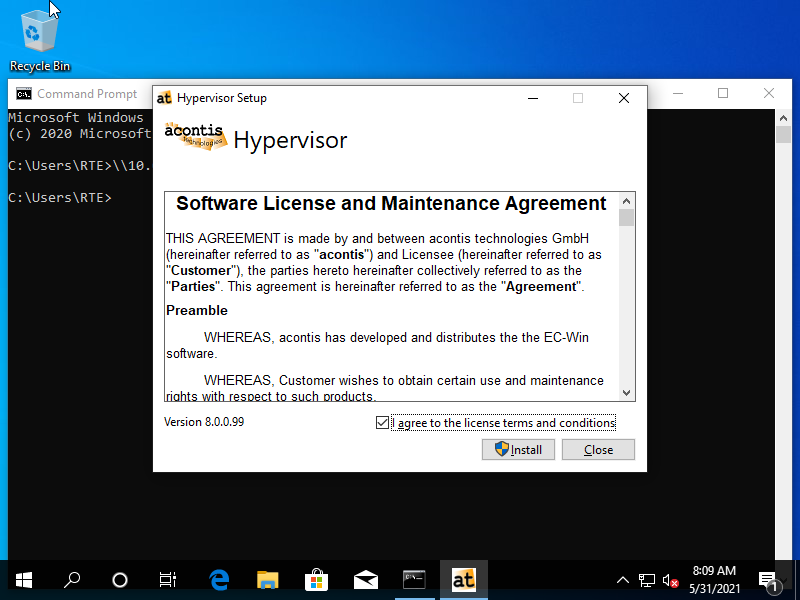
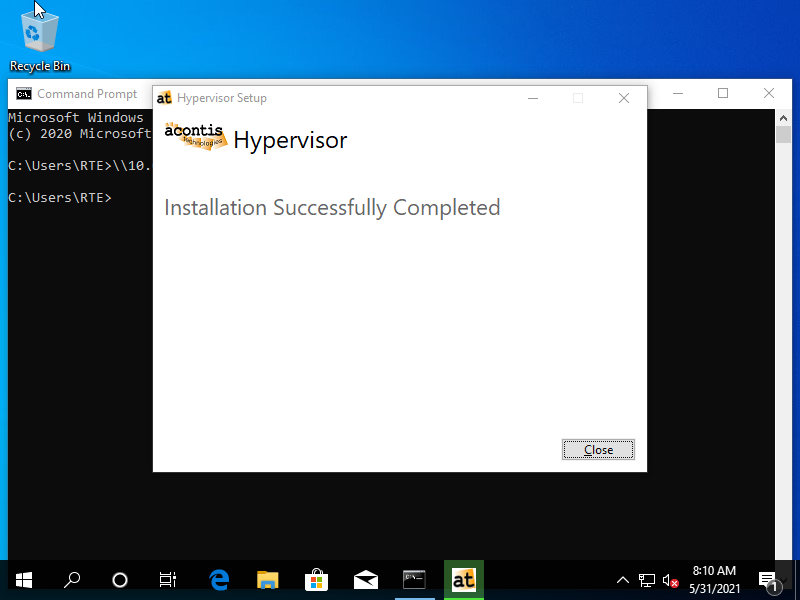
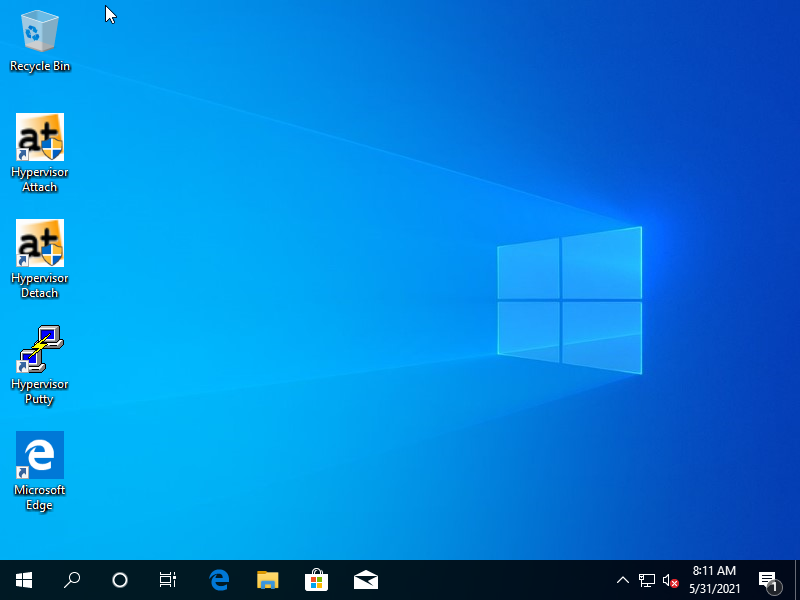
To communicate with an RTOS via the Hypervisor we need to install RTOSVisor.exe containing the required drivers and packages.
Hint
In case you got a test version of the acontis hypervisor, unsigned drivers are included. You need to enable testsigning before installing the guest support.
Step 1: Run Command Prompt as administrator.
Step 2: Input the command in the window:
bcdedit /set testsigning onand press Enter. Reboot the guest.
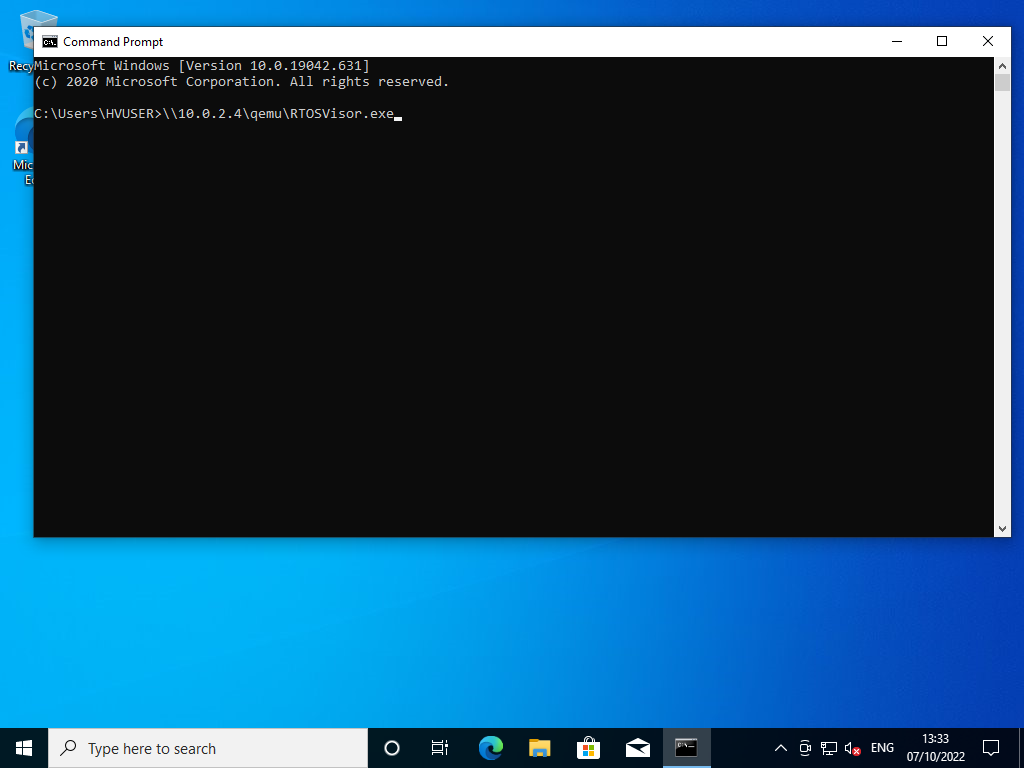
Open CMD prompt in Windows guest and enter the following:
Call \\10.0.2.4\qemu\RTOSVisor.exe
9. Power & sleep
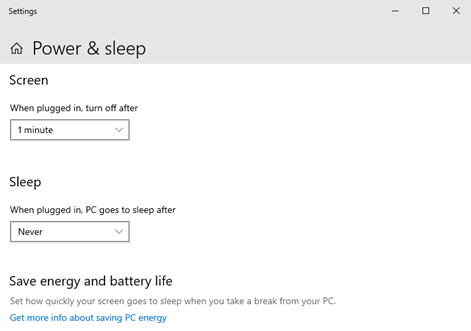
Sleep and Hibernate are currently not supported (S3 or S4 mode). Disable Sleep (Windows Settings – System – Power and sleep):
10. Windows and Real-time guest in parallel
In this step, we will run Windows and Real-Time Linux in parallel.
Shutdown Windows, do NOT reboot!
Reboot the Linux host
sudo rebootAfter system reboot, open a shell terminal again (right click on desktop and select ‘Open Terminal here’ or press CRTL + ALT + T). Then, run the Real-time Linux guest
cd /hv/lx
sudo ./lx.sh
./dbgcon.sh
Open a second shell terminal
Start the Windows guest
cd /hv/VMs/vm1
./vmrun.sh
After logging in into Windows, execute “Hypervisor Attach” (Desktop icon)
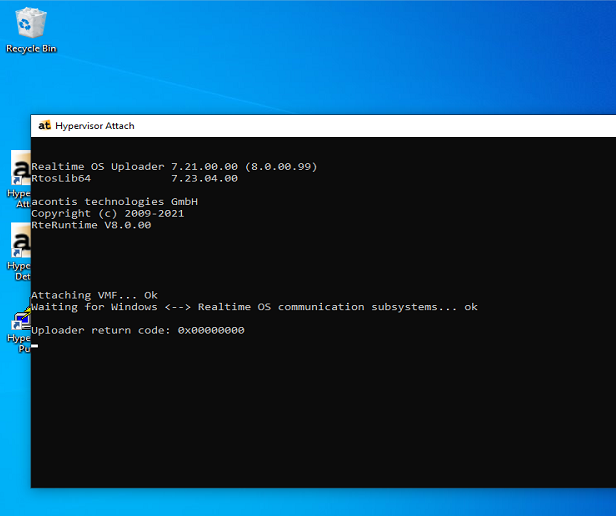
Open the RT-Linux shell: execute “Hypervisor Putty” (Desktop icon)
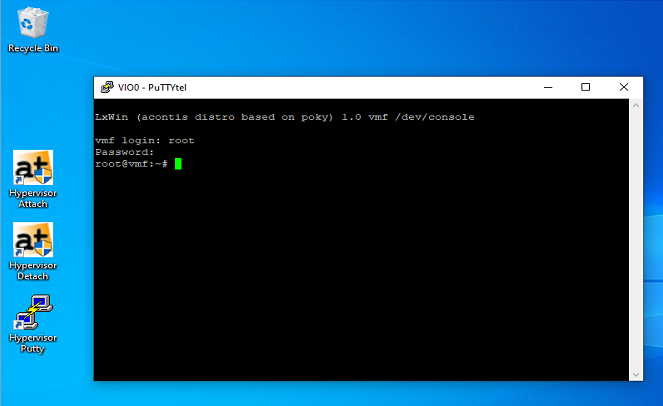
Log in into Real-Time Linux and run the Real-time demo:
vmf64 login: root
password:  root
RealtimeDemo
11. Windows System Control
11.1. System reboot/shutdown
In this section we will show how the whole system can be rebooted or shutdown from within the Windows guest
Hint
This feature is implemented in /hv/VMs/vm1/shutdown_svc.sh.
Start the Windows guest
Open the Explorer
Switch to folder
\\10.0.2.4\quemu\WinTools\DesktopShortcutsCopy all the shortcuts onto your desktop (you may have to adjust the shortcuts based on your Windows version and language)
Run the “System Shutdown” or “System Reboot” shortcut
Hint
To avoid being asked to allow execution, you may adjust the related Windows settings.
Open the Control Panel, select Internet Options, select security, select local intranet, select sites, select advanced and add \\10.0.2.4\qemu
11.2. Start an App on RT-Linux
In this section we will show how to execute an application on the RT-Linux guest from within the Windows guest.
Caution
It is assumed that
all the provided desktop shortcuts have been placed on the desktop, see last chapter.
RT-Linux was started before the Windows guest.
Start the Windows guest
Download and install .. https://www.putty.org/
Execute the “Hypervisor Attach” shortcut
Open putty and connect to
192.168.157.2, accept the connection (do not login)Close putty (we only need to execute this step to accept the security keys, they are needed to run the RT-Linux application)
Execute the “Run RT-Linux Application” shortcut
A message should be shown.
Hint
This shortcuts executes the "remote_cmd_exec" sample script located in /hv/lx/rtfiles/remote_cmd_exec.sh.
You may adjust this file according to your needs.
