1. Introduction
This guide describes how to set up a graphics passthrough to the Windows guest in the acontis Hypervisor. It is assumed, the steps listed in the Hypervisor Quick Start guide have been successfully executed.
2. Prerequisites
Intel i915 graphics adapter
additional extern graphics adapter (optional)
activated VT-D/IOMMU (UEFI/BIOS)
2.1. Additional information
For more information on the topic checkout the following links:
Intel (filtered) list of possible CPUs:
3. Windows Guest configuration
Some custom steps are required to create a Windows VM for QEMU.
Caution
It is important to create this machine with OVMF UEFI, because graphics passthrough need it.
Important
Use the Windows guest guide to setup a Windows Guest.
4. Windows Guest remote desktop access
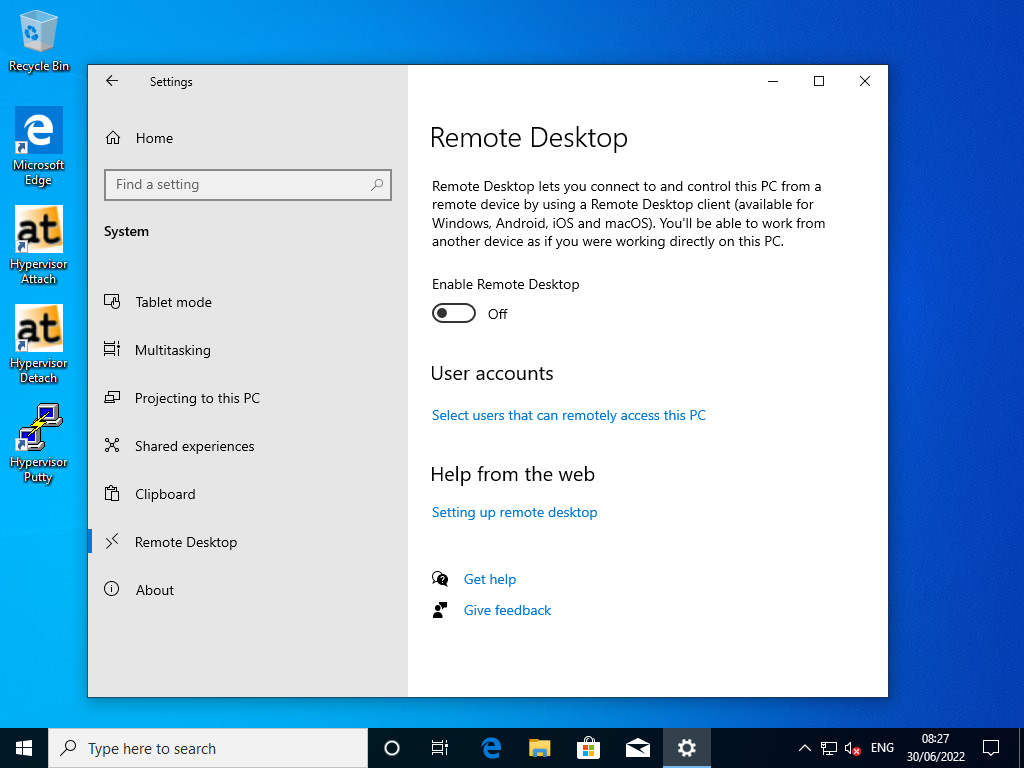
It’s required to has Remote Desktop access of the Windows guest, as the standard vga graphics will be deactivated and therefore only remote access is possible with the Hypervisor Host and Windows Guest.
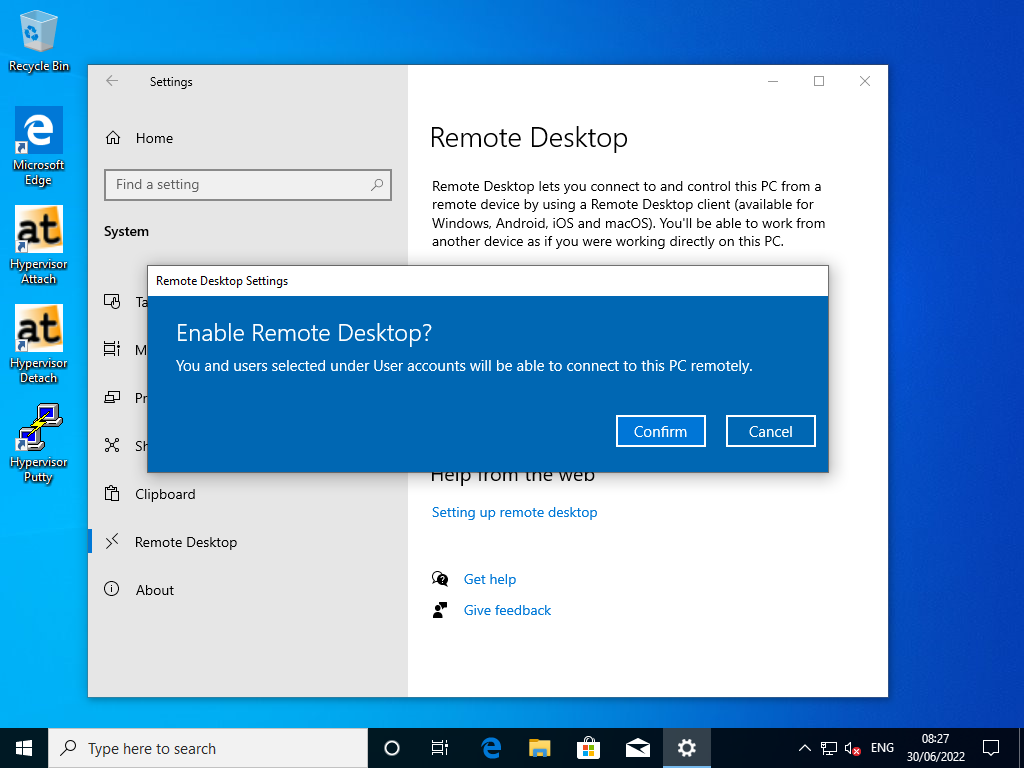
4.1. Enable Remote Desktop
4.2. Remote Desktop Settings
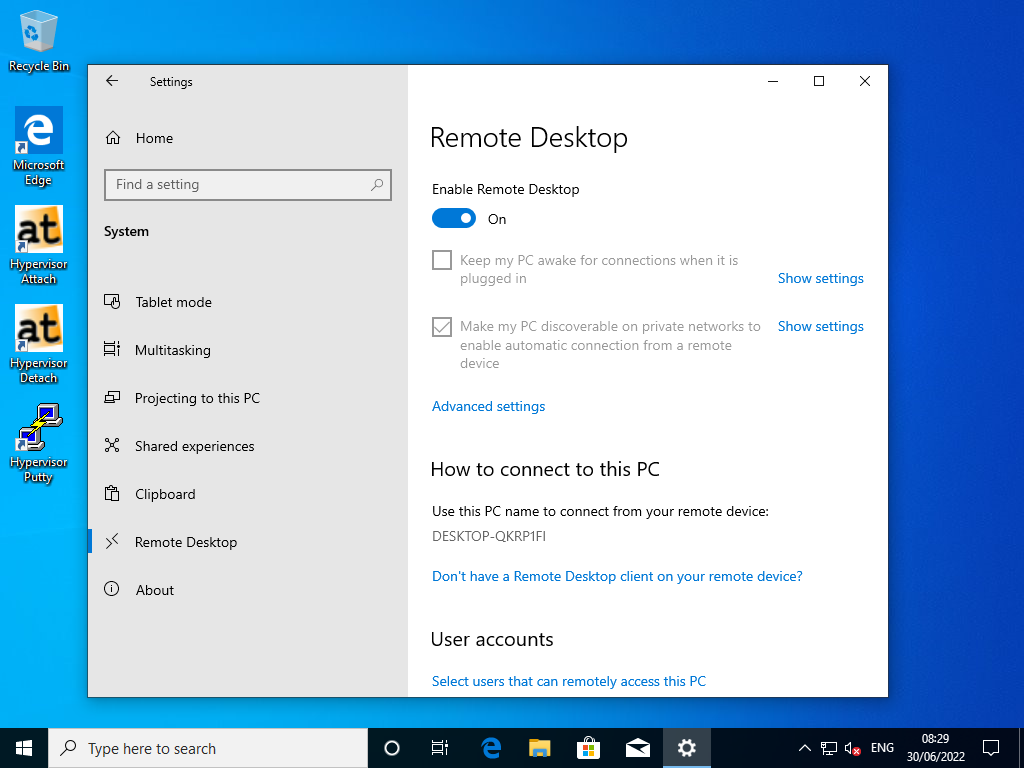

Fig. 4.4 Windows 10 RDP Settings PC-Name (Windows 10 Guest).
5. Additional Guest configuration
Adjust the file
vmconfig.shsudo gedit /hv/VMs/vm1/vmconfig.sh# UEFI support export uefi_bios=1 # graphics passthrough (see hypervisor manual for more information) export enable_vga_gpt=1 # set to 1 to enable graphics passthrough export vga_gpt_bdf=00:02.0 # PCI bus, device function values for the graphics card, use the lspci command to determine export vga_gpt_kbd_event=4 # keyboard event, determine using ls -la /dev/input/by-id | grep -event- (search for the appropriate keyboard event number) export vga_gpt_mouse_event=3 # keyboard event, determine using ls -la /dev/input/by-id | grep -event- (search for the appropriate mouse event number)
Important
Use lspci to determine/validate vga_gpt_bdf value!
rte@RTV-TP104:~$ lspci
00:00.0 Host bridge: Intel Corporation Xeon E3-1200 v2/3rd Gen Core processor DRAM Controller (rev 09)
00:02.0 VGA compatible controller: Intel Corporation Xeon E3-1200 v2/3rd Gen Core processor Graphics Controller (rev 09)
00:14.0 USB controller: Intel Corporation 7 Series/C210 Series Chipset Family USB xHCI Host Controller (rev 04)
00:16.0 Communication controller: Intel Corporation 7 Series/C216 Chipset Family MEI Controller #1 (rev 04)
00:1a.0 USB controller: Intel Corporation 7 Series/C216 Chipset Family USB Enhanced Host Controller #2 (rev 04)
00:1b.0 Audio device: Intel Corporation 7 Series/C216 Chipset Family High Definition Audio Controller (rev 04)
00:1c.0 PCI bridge: Intel Corporation 7 Series/C216 Chipset Family PCI Express Root Port 1 (rev c4)
00:1c.5 PCI bridge: Intel Corporation 7 Series/C210 Series Chipset Family PCI Express Root Port 6 (rev c4)
00:1d.0 USB controller: Intel Corporation 7 Series/C216 Chipset Family USB Enhanced Host Controller #1 (rev 04)
00:1e.0 PCI bridge: Intel Corporation 82801 PCI Bridge (rev a4)
00:1f.0 ISA bridge: Intel Corporation B75 Express Chipset LPC Controller (rev 04)
00:1f.2 SATA controller: Intel Corporation 7 Series/C210 Series Chipset Family 6-port SATA Controller [AHCI mode] (rev 04)
00:1f.3 SMBus: Intel Corporation 7 Series/C216 Chipset Family SMBus Controller (rev 04)
01:00.0 Ethernet controller: Intel Corporation I210 Gigabit Network Connection (rev 03)
02:00.0 Ethernet controller: Realtek Semiconductor Co., Ltd. RTL8111/8168/8411 PCI Express Gigabit Ethernet Controller (rev 06)
03:05.0 Ethernet controller: Realtek Semiconductor Co., Ltd. RTL8169 PCI Gigabit Ethernet Controller (rev 10)
rte@RTV-TP104:~$
6. Activate vfio driver
sudo gedit /etc/modules
Add the following lines into the file:
vfio
vfio_iommu_type1
vfio_pci
vfio_virqfd
sudo update-initramfs –u
sudo reboot now
7. Boot Hypervisor in passthrough graphics mode
Please select the following boot line at GRUB:
Hypervisor + iGVT-d
Hint
When executing inithv.sh script (which is required to install real-time linux kernel
and to reserve kernel memory for hypervisor needs), a separate GRUB entry Hypervisor + iGVT-d is created.
Important
A missing GRUB entry Hypervisor + iGVT-d shows, that the inithv.sh script didn’t find any compatible integrated graphics card!
8. Remote Guest Start
In this guide the Putty is used as remote SSH shell:
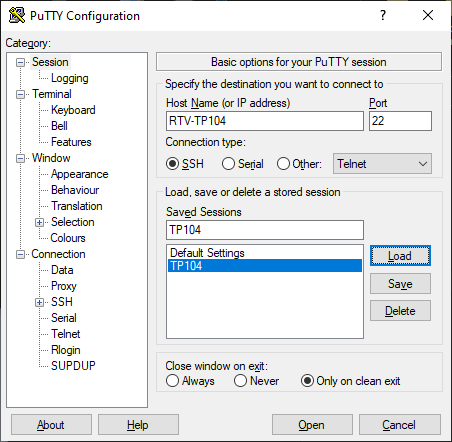
Hint
The screenshots uses the PC-Name RTV-TP104. Replace it by the name you used installing the Hypervisor!
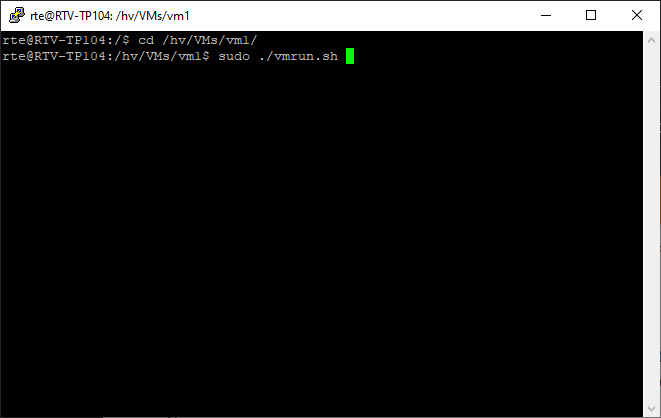
Change to Windows guest directory
cd /hv/VMs/vm1Start the Windows guest
sudo ./vmrun.sh
Wait 30..60 sec.
You should now see the Windows Guest at the display. If yes, you are done!
Important
If the screen remains black after 30..60 sec. please go further with next chapter!
9. Connect Guest through RDP
In this guide the Windows Guest PC-Name is DESKTOP-QKRP1FI. Replace it by the PC-Name of your Windows Guest
and connect it through the RDP client on your development PC. As user/password use the defined credentials at
Windows Guest install stage.
10. Download/Install Driver
Open internet browser in the Windows guest and get the latest Intel graphic drivers: https://downloadcenter.intel.com/product/80939/Graphics OR https://www.intel.com/content/www/us/en/download/19344/intel-graphics-windows-dch-drivers.html
11. Troubleshooting
–