As no OS is installed yet, the guest will boot into the EFI shell.Guest installation———— Introduction ————
This guide describes how to set up a Ubuntu guest in the acontis Hypervisor. It is assumed, the steps listed in the Hypervisor Quick Start Guide have been successfully executed.
The last chapter describes how to set up an additional Ubuntu guest, if 2 (or more) Ubuntu guests are desired.
Hint
This guide uses ubuntu-22.04-desktop-amd64.iso as Ubuntu guest. The same should be achieved with a newer or older version of Ubuntu.
1. Create folder for running the VM
In the first step, you have to create a folder where the VM shall be stored.
The template folder has to be copied into a new VM specific folder, we will use the folder name vm1 in this example.
cd /hv/VMs
cp -R vm_template vm1
2. Copy Ubuntu ISO installation media to Linux
In a first step, we need to copy the Ubuntu installation media (ISO file) from a Windows (or Linux) host system into the Hypervisor filesystem.
2.1. Using Filezilla (recommended)
Open a shell (right click on desktop and select ‘Open Terminal here’ or press CRTL + ALT + T) on the Hypervisor Host.
Detect IP address (with
ifconfigcommand and throughinetentry):rte@RTV-TP104:~$ ifconfig enp2s0: flags=4163<UP,BROADCAST,RUNNING,MULTICAST> mtu 1500 inet 172.17.10.5 netmask 255.255.0.0 broadcast 172.17.255.255 inet6 fe80::ccbb:85f1:38d3:fa2a prefixlen 64 scopeid 0x20<link> ether 90:1b:0e:18:c9:83 txqueuelen 1000 (Ethernet) RX packets 4618420 bytes 4033770375 (4.0 GB) RX errors 0 dropped 8865 overruns 0 frame 0 TX packets 1460482 bytes 96608727 (96.6 MB) TX errors 0 dropped 0 overruns 0 carrier 0 collisions 0 lo: flags=73<UP,LOOPBACK,RUNNING> mtu 65536 inet 127.0.0.1 netmask 255.0.0.0 inet6 ::1 prefixlen 128 scopeid 0x10<host> loop txqueuelen 1000 (Local Loopback) RX packets 6864 bytes 427092 (427.0 KB) RX errors 0 dropped 0 overruns 0 frame 0 TX packets 6864 bytes 427092 (427.0 KB) TX errors 0 dropped 0 overruns 0 carrier 0 collisions 0 vnet0: flags=99<UP,BROADCAST,NOTRAILERS,RUNNING> mtu 1500 inet 192.168.157.1 netmask 255.255.255.0 broadcast 192.168.157.255 ether 00:60:c8:00:00:00 txqueuelen 1000 (Ethernet) RX packets 765775 bytes 74216258 (74.2 MB) RX errors 0 dropped 0 overruns 0 frame 0 TX packets 767935 bytes 74780268 (74.7 MB) TX errors 0 dropped 0 overruns 0 carrier 0 collisions 0
In this example the ‘detected’ IP address is 172.17.10.5.
Hint
The device name enp2s0 differs on different PC/IPC’s!
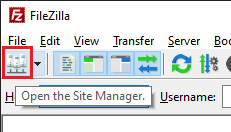
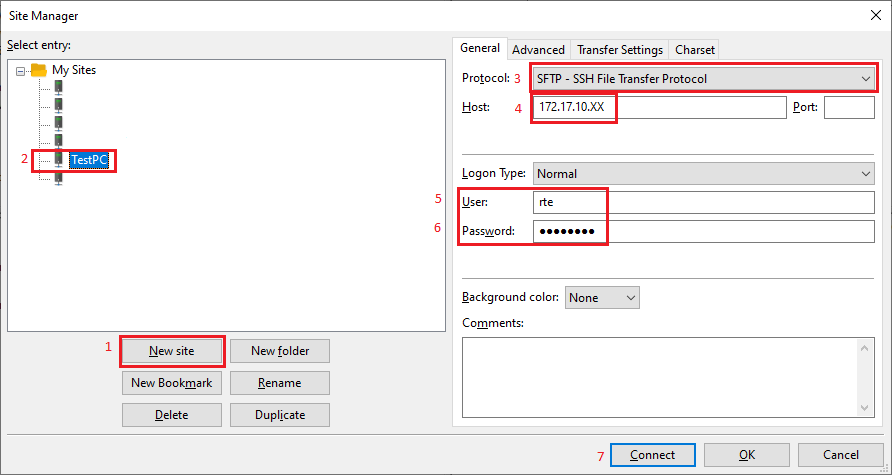
Open Filezilla (get current version from https://filezilla-project.org/) and create new connection entry:
Push New site button
Give a qualified name
Select SFTP - SSH File Transfer Protocol
Give host IP/name. In screenshot above the last byte is
X-ed out. Replace it with the ‘detected’ IP address.Enter User name (same as at Hypervisor install)
Enter password (same as at Hypervisor install)
Push Connect button
Select location of downloaded Ubuntu
.isoimage from local side and drag’n’drop it to/hv/VMs/vm1on remote side.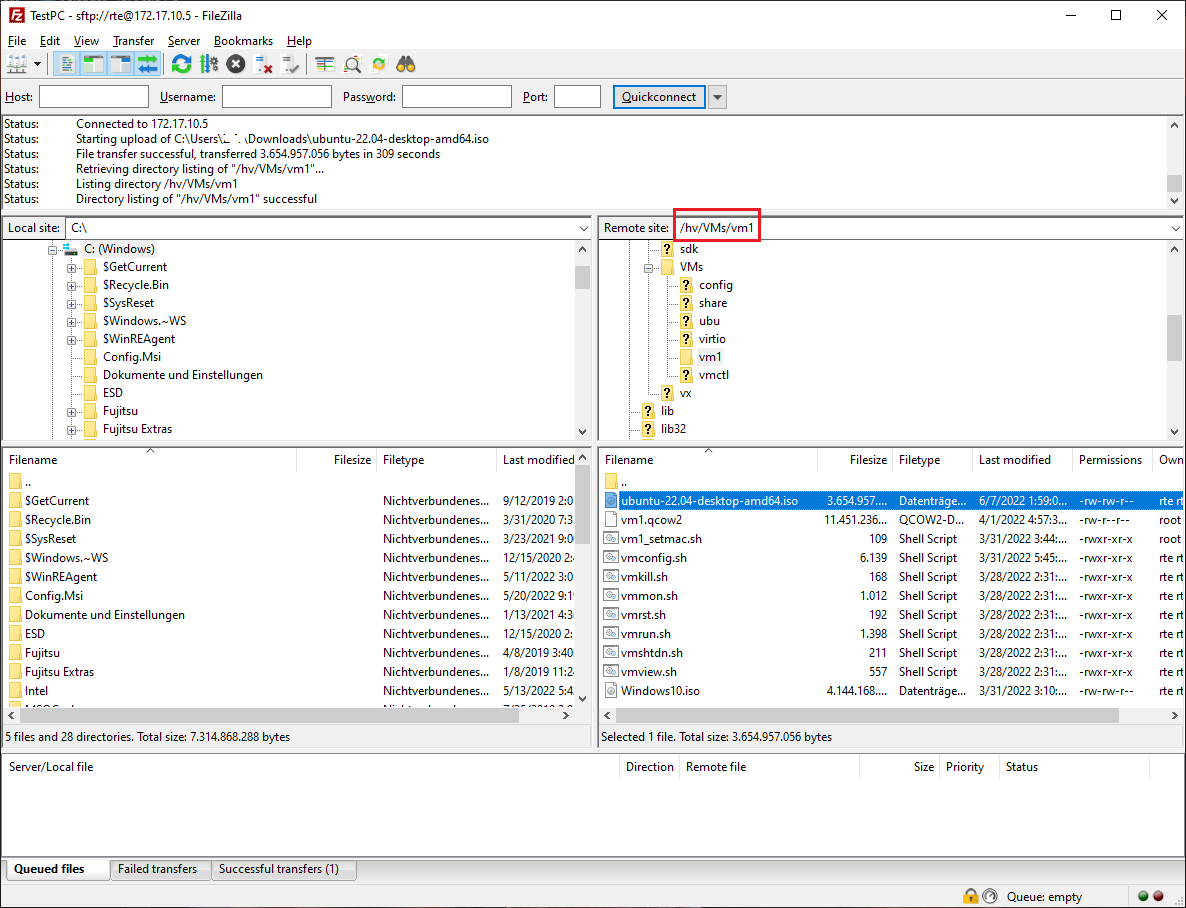
3. Guest Configuration
Prior to installing the guest, we need to configure the respective virtual machine (e.g. number of CPU cores, network settings etc.).
The configuration file vmconfig.sh is located in the VM directory. The meaning of each configuration setting is explained in detail in this file.
You need to edit this file and adjust according to your needs and environment.
The number of CPU cores must not exceed the number of physical cores available in the system and not assigned to Real-time guests. For example, if on a quad core CPU, you need 2 cores for Real-time guests, the number of cores for the Ubuntu guest must not exceed 2.
gedit /hv/VMs/vm1/vmconfig.sh
Change
windows_guest=# unique identifier settings for this VM export windows_guest=1 # set to 1 if the VM is a Windows guest
— to —
# unique identifier settings for this VM
export windows_guest=0  # set to 1 if the VM is a Windows guest
Change
cdrom_iso=# If an ISO file shall be used instead of a physical CDROM, uncomment below # command and replace the ISO name with the appropriate file name. export cdrom_iso=/hv/VMs/vm1/Windows10.iso
— to —
# If an ISO file shall be used instead of a physical CDROM, uncomment below
# command and replace the ISO name with the appropriate file name.
export cdrom_iso=/hv/VMs/vm1/ubuntu-22.04-desktop-amd64.iso
Change
ramsize=andhdsize=# Major VM settings export ramsize=4096 # RAM size of the physical machine. export hdsize=50G # Hard disk size. # This value is only when creating a new hard disk image. # After creating the disk image, this value is ignored.
— to —
# Major VM settings
export ramsize=2048     # RAM size of the physical machine.
export hdsize=25G       # Hard disk size.
                        # This value is only when creating a new hard disk image.
                        # After creating the disk image, this value is ignored.
Adapt following line to your system and needs:
num_cpus=...
By default, the network connection is set up automatically (using DHCP). Please check the hypervisor manual for other settings.
Caution
Automatic network setting will only work, if the Ethernet cable is connected!
4. Guest installation
After VM configuration you need to start the script vmrun.sh for the first time. The remote viewer will start and boot the guest.
cd /hv/VMs/vm1
sudo ./vmrun.sh
5. Ubuntu Installation
Follow the steps as usual for Ubuntu. In this guide the default cases are used where applicable.
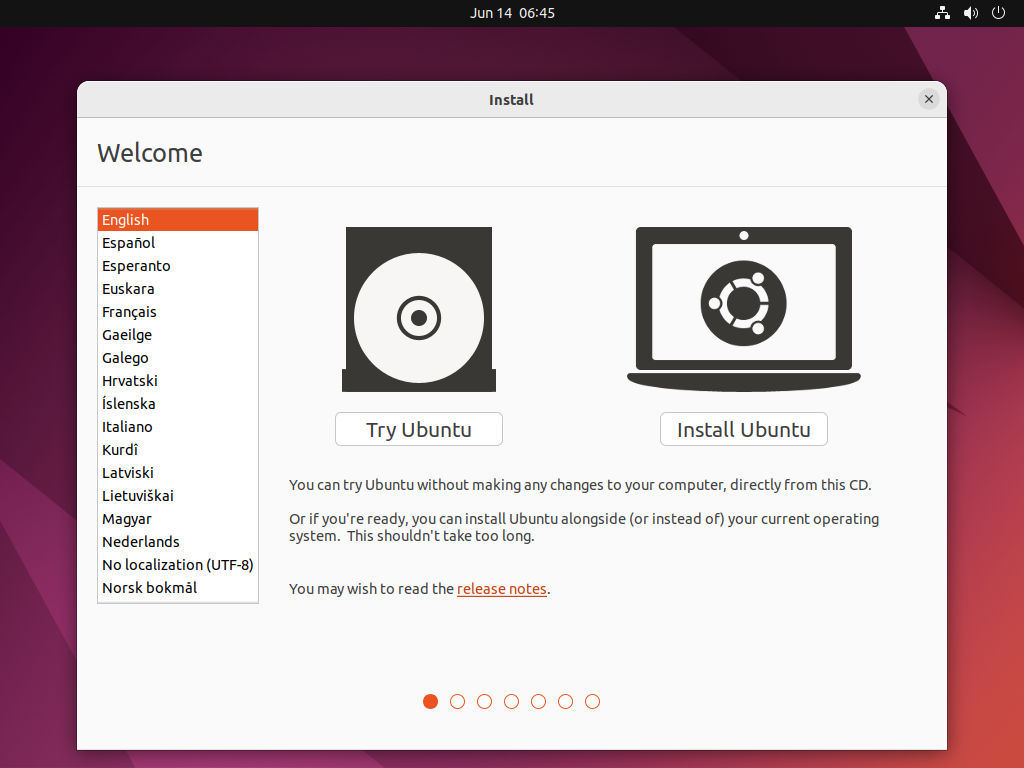
GRUB selection menu
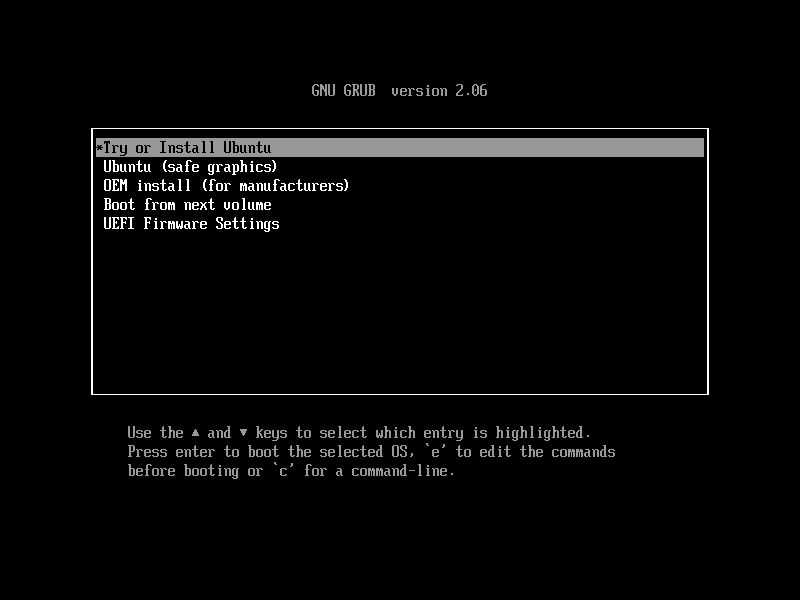
Fig. 5.1 Select
Try or Install Ubuntuat GRUB selection menu.Select Install Ubuntu
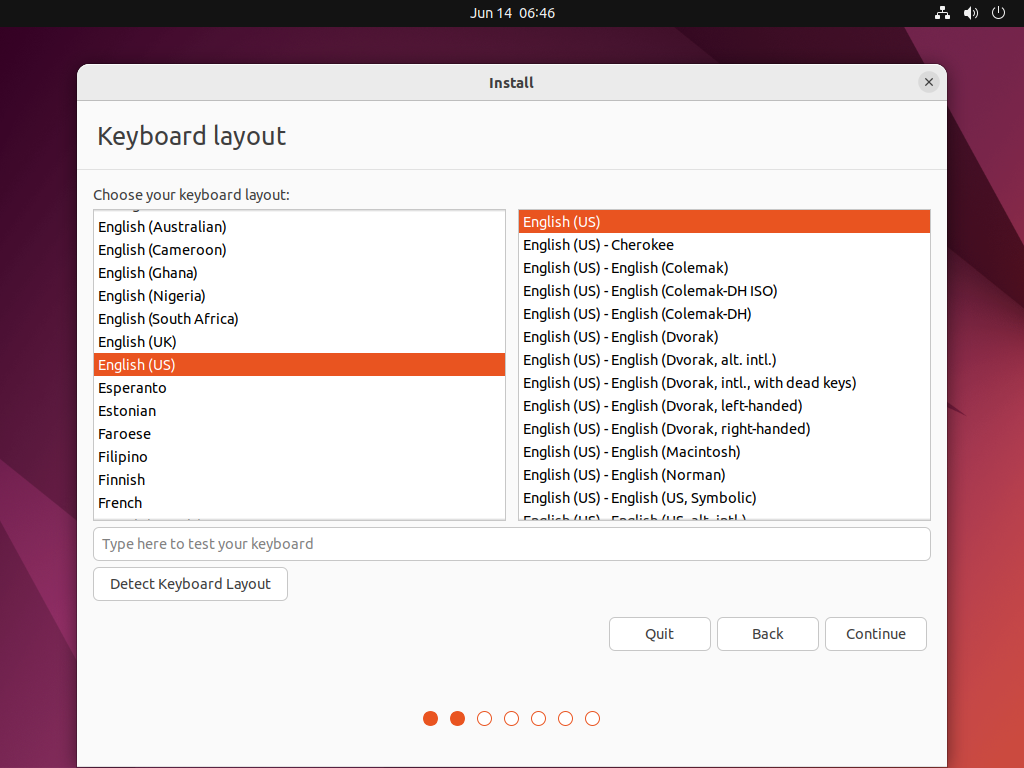
Select your Keyboard layout –> Continue
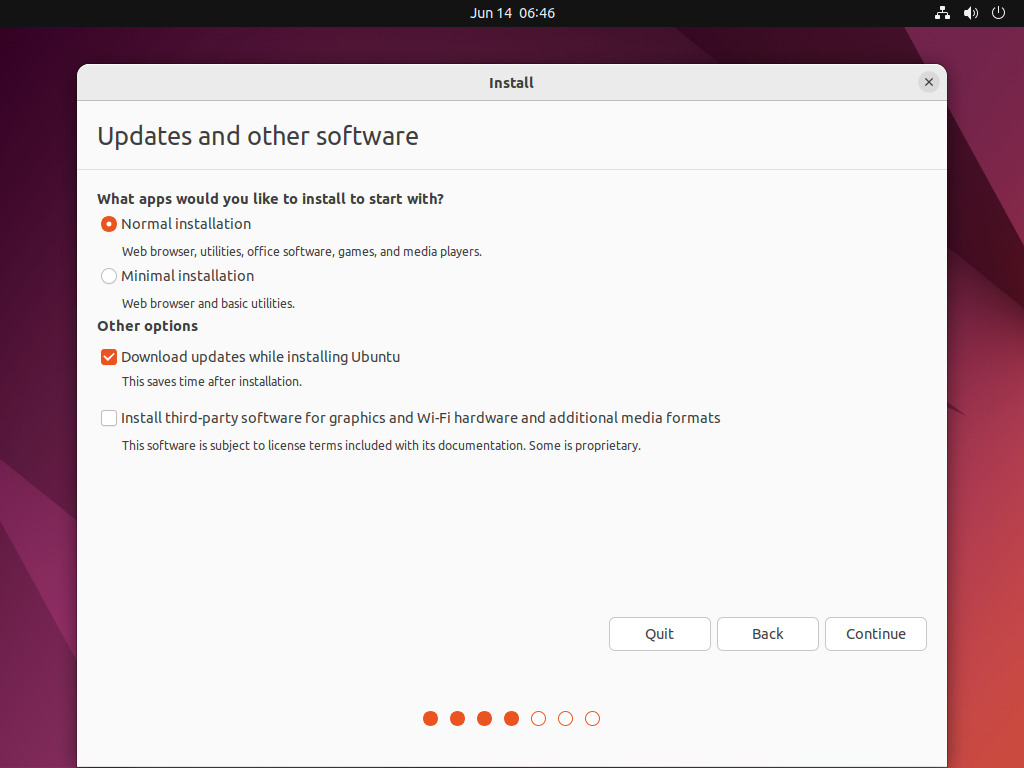
Updates and other software (default state) –> Continue
Installation type –>
Erase disk and install Ubuntu–> InstallNow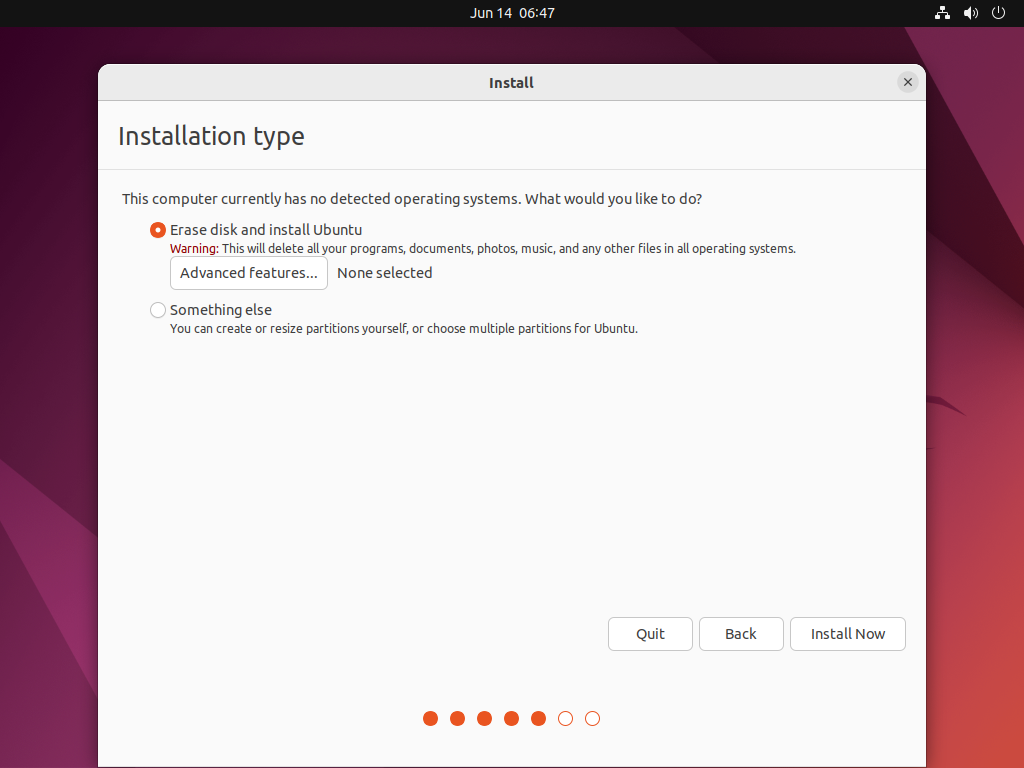
Fig. 5.5 Select
Erase disk and install Ubuntuat installation type page.Confirm
Write the changes to disks?dialog –> Continue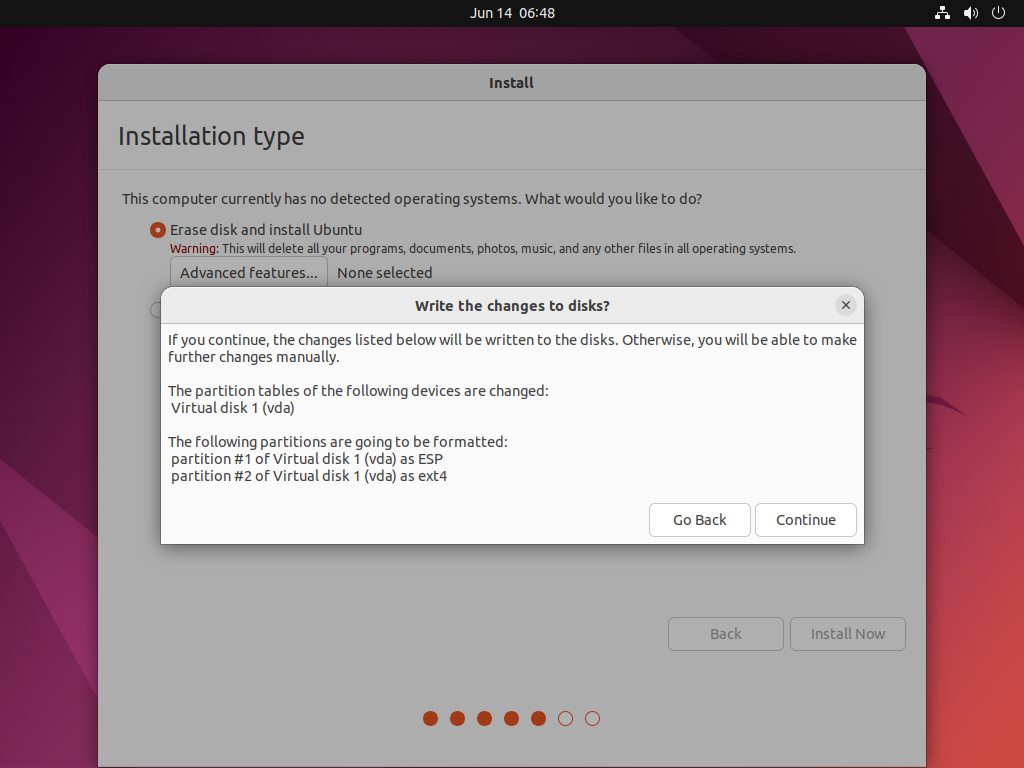
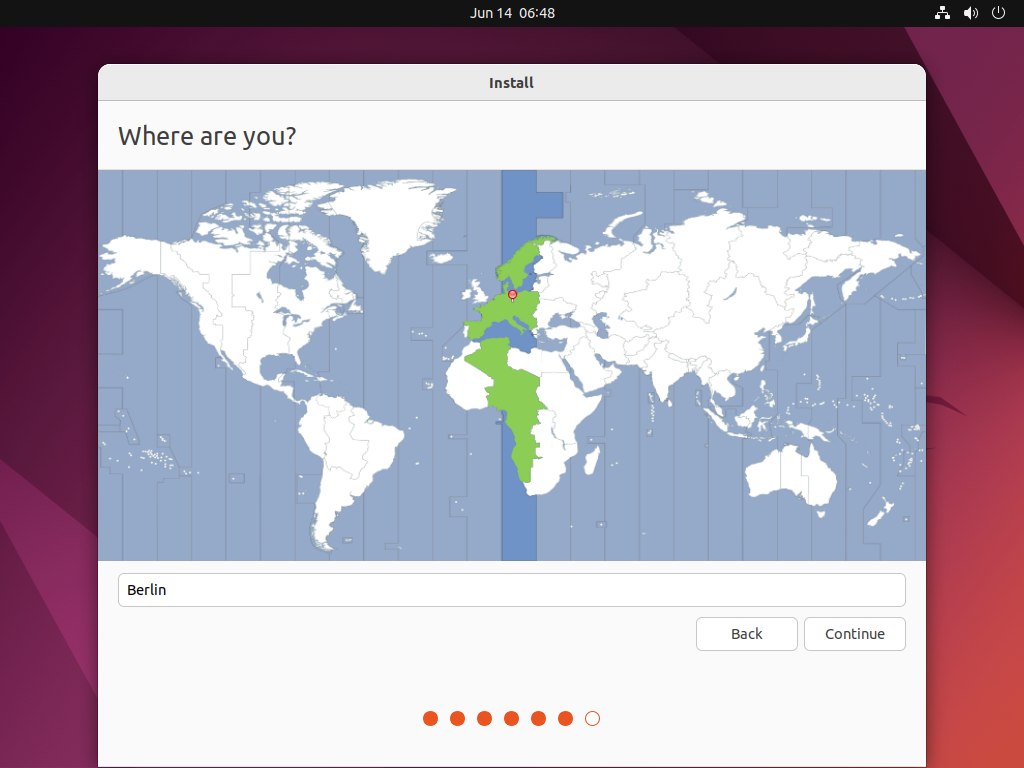
Where are you –> Continue
Create credentials –> Continue
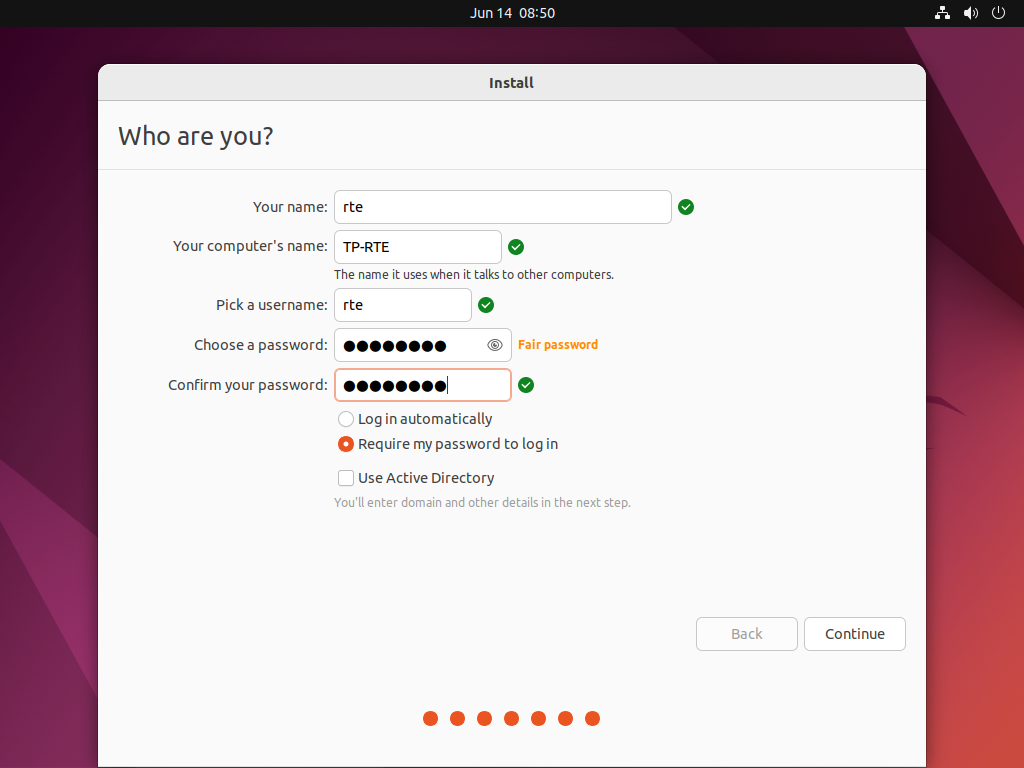
Hint
In this guide the default user used is rte. It’s recommended to supply a password.
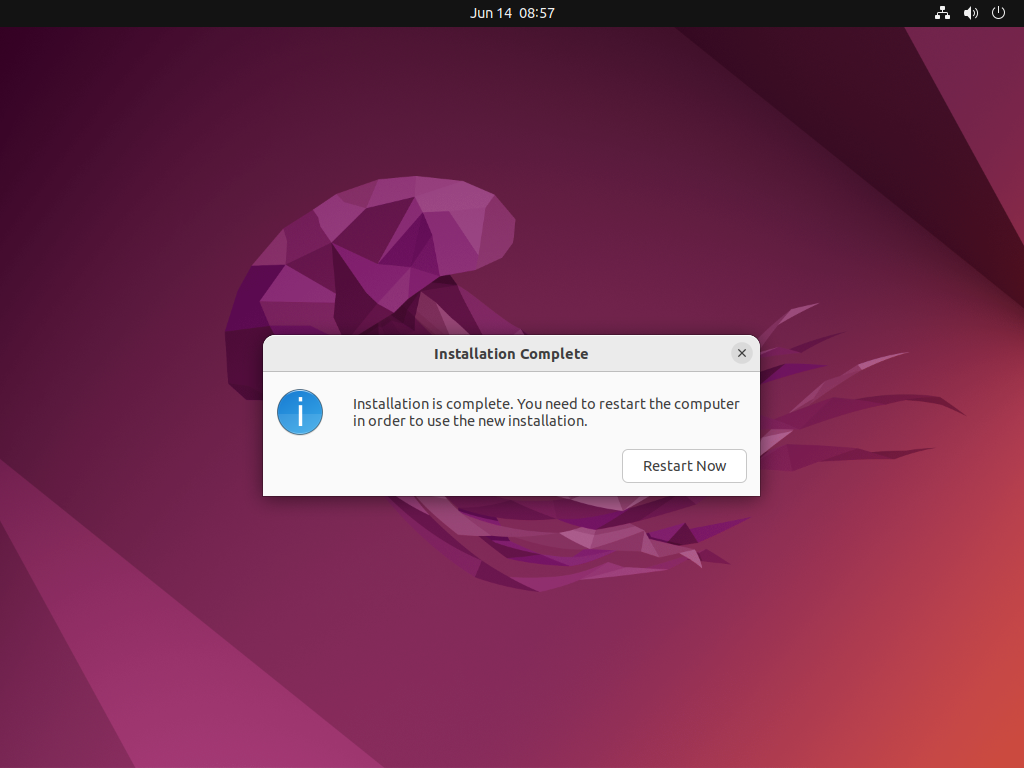
Restart –> RestartNow
Press enter –> ENTER

Login (in this example with user rte and the supplied password)
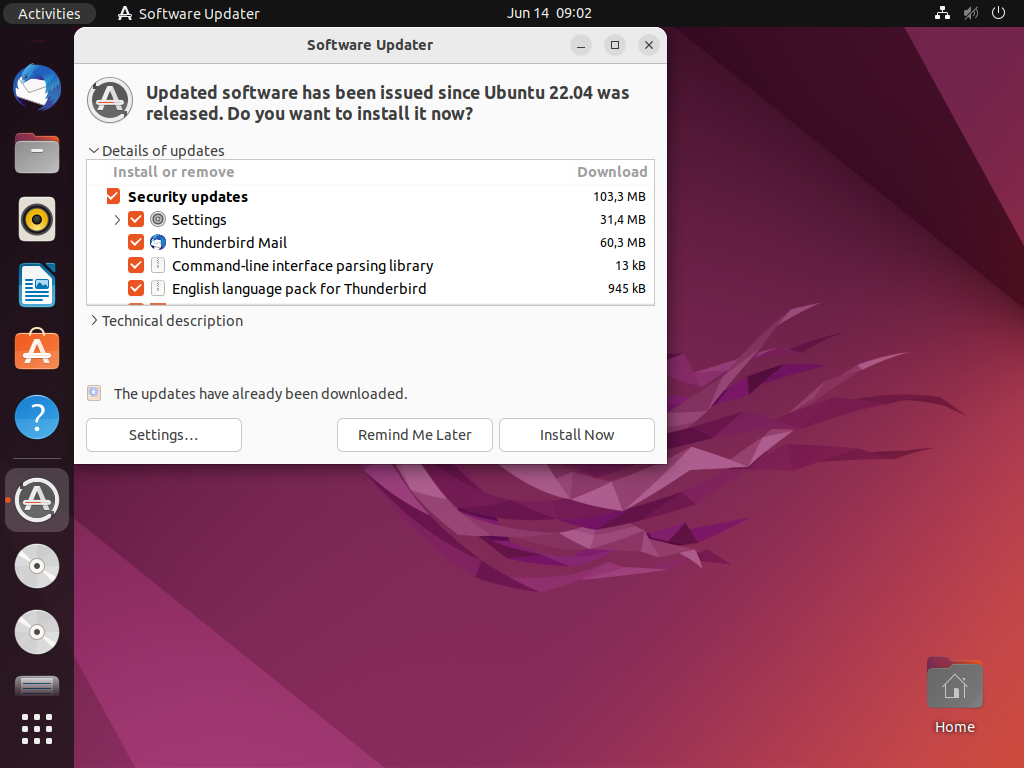
OPTIONAL Update guest –> InstallNow
Installation finished!
6. Running Ubuntu guest
After successfully installing Ubuntu, you need to shutdown Ubuntu.
Shutdown Ubuntu
Important
You need to shutdown the guest (do NOT reboot Ubuntu!). If this is not possible inside the guest, please use the ./vmshtdn.sh script! If shutdown is blocked, you need to close the setup windows before (e.g. using tab keys to select the finish button).
Adjust the file
vmconfig.sh(to avoid booting the installation media again)gedit /hv/VMs/vm1/vmconfig.shcomment "cdrom_iso" with #
Start the Ubuntu guest
./vmrun.sh
Hint
Due to hardware changes, Ubuntu may automatically reboot once. Mouse and desktop may still not work properly. In this case, please install all of the latest Ubuntu updates.
7. Ubuntu and Real-time guest in parallel
In the final step, we will run Ubuntu and Real-Time Linux in parallel.
Shutdown Ubuntu, do NOT reboot!
Run the
Real-Time Linuxguestcd /hv/lx sudo ./lx.sh ./dbgcon.sh
Open a second shell (right click on desktop and select ‘Open Terminal here’ or press CRTL + ALT + T)
Start the Ubuntu guest
cd /hv/VMs/vm1
./vmrun.sh
Log into
Real-Time Linuxand run the Real-time demo:vmf64 login: root password: root RealtimeDemo