2. Part A - Development Host Configuration
Start the System Manager
Hint
If it’s the first launch of the System Manager a dialog to enter a workspace directory opens.
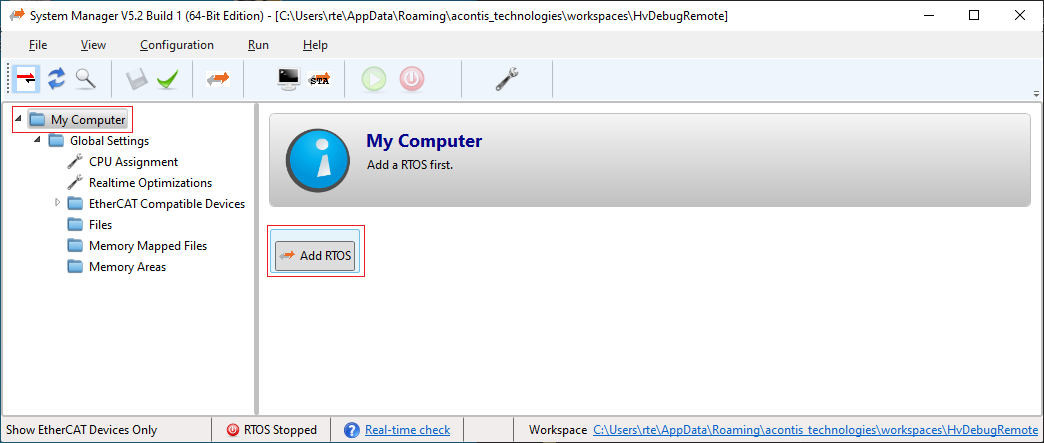
Select My Computer node on the tree view and add a RTOS to the configuration.
Select the
Applicationnode of theRTOS #1section and push theCreate New Application Project (Debug Only)button.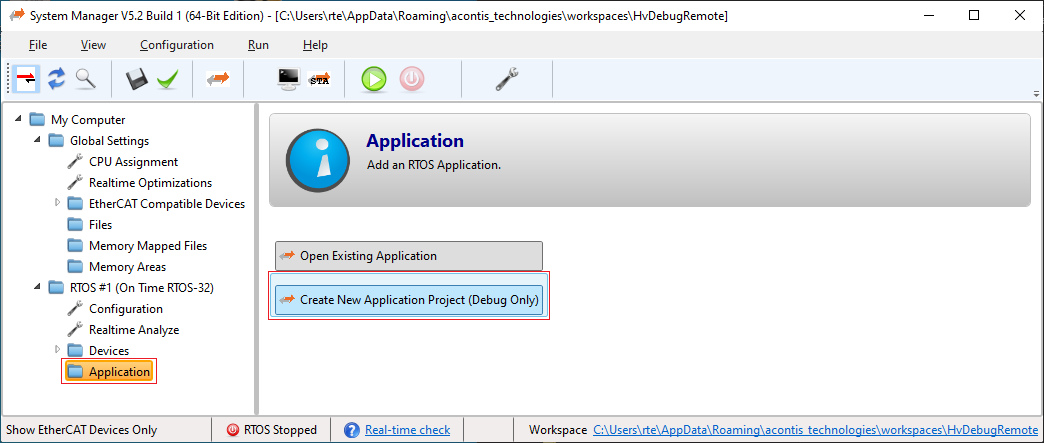
Select for ex. RealtimeDemo and push OK button.
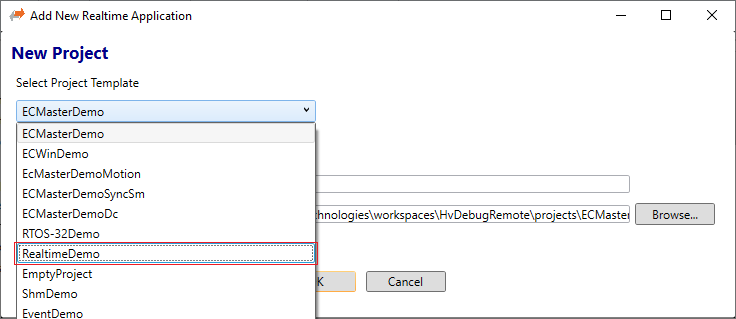
Fig. 2.3 Select for ex. RealtimeDemo as source application in SysMgr.
Scroll to
<Development|Debugging>section and push theSettingsbutton.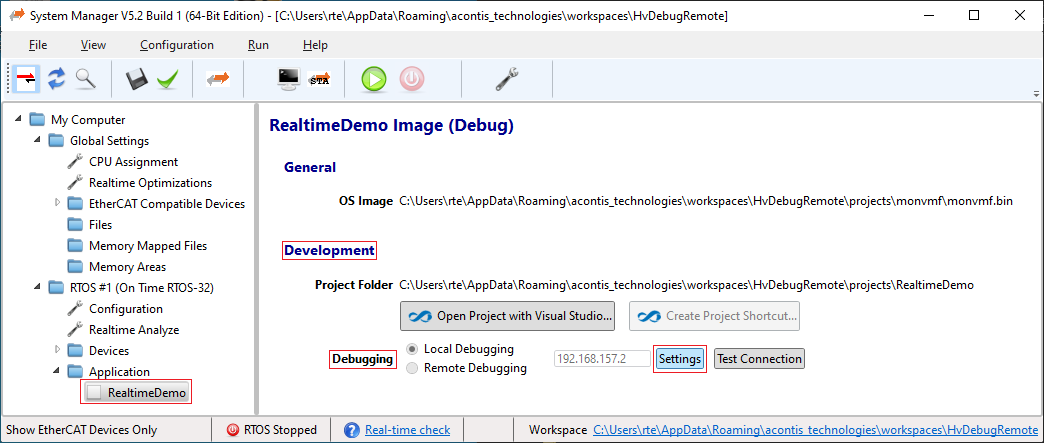
Edit DEBUG Connection Settingsdialog will pop up.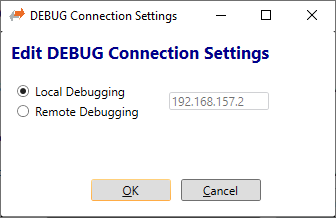
Select
Remote Debuggingand enter the IP address of the target. Please note, this IP address must not be in use by other computers in your network and it has to fit into your company’s IP environment. You may have to ask your System Administrator to get a free IP address for that purpose. Both, host and target computer must be in the same network. In following steps this IP address will be called$Target-IP$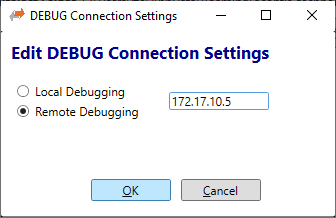
Push the OK button.
Check if remote debugging and changed
$Target-IP$has been saved.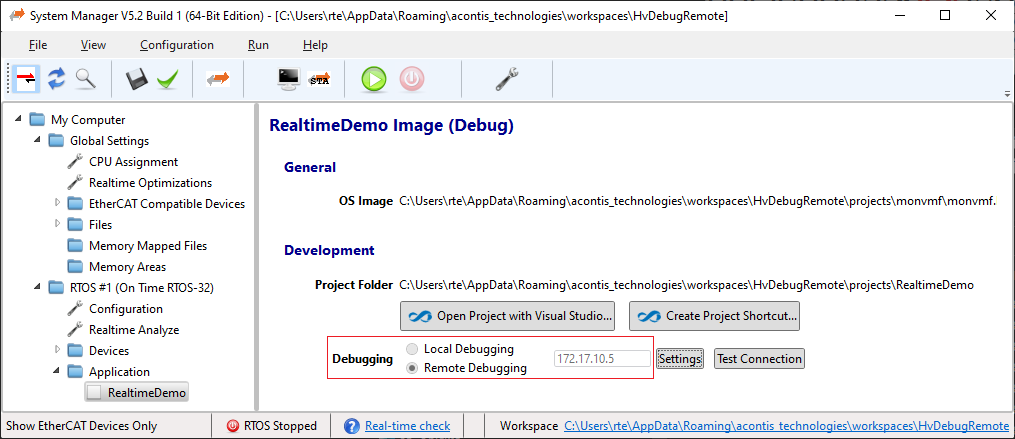
Push
Open Project with Visual Studiobutton.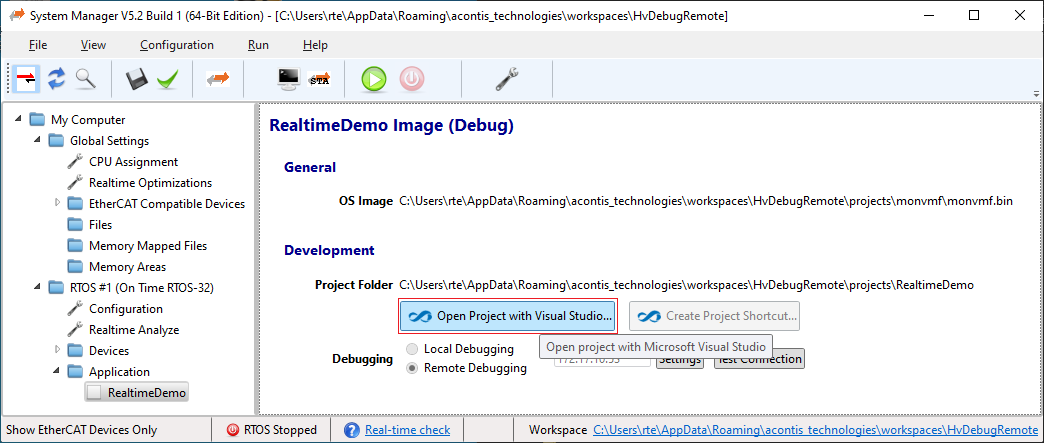
Fig. 2.8 Push button to open Visual Studio and automatically create the source project.
Project will be created and all required settings are set.
Adjust
$Target-IP$in generated Visual Studio Loader project.Select the file
Vmftarget.cfgin the Visual Studio Loader project and edit the settingCOMPort Ethernet $Target-IP$.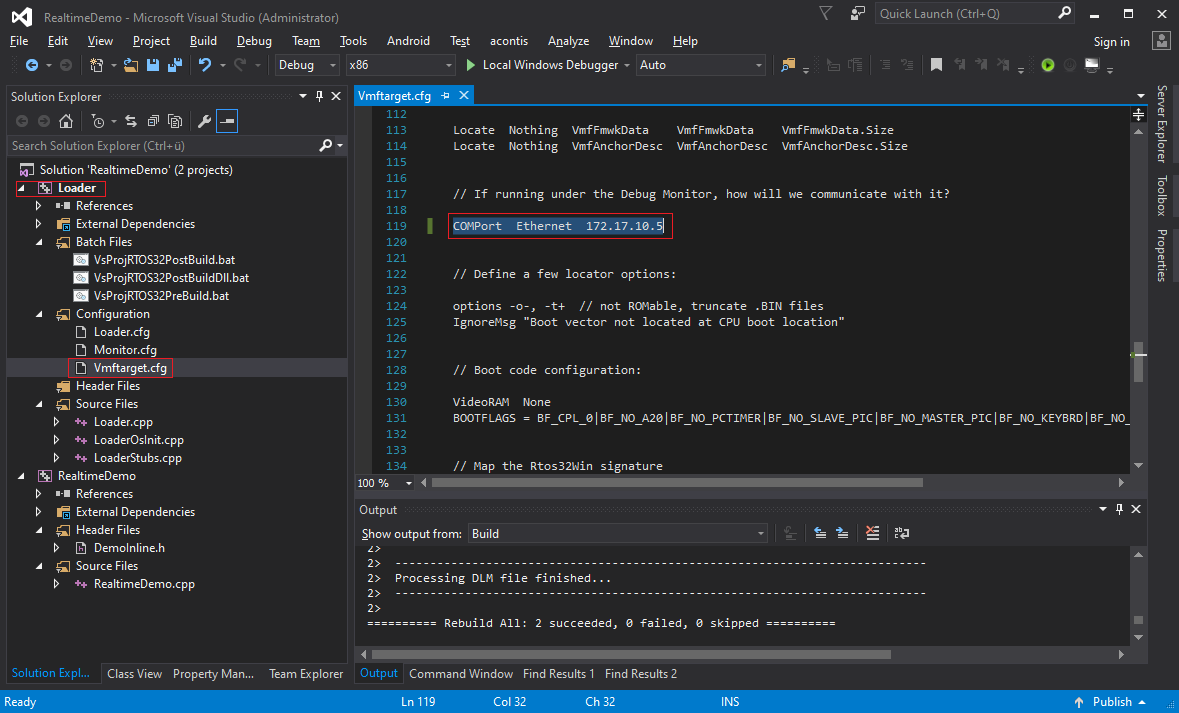
Fig. 2.9 Edit Visual Studio Loader project file
Vmftarget.cfg.Press F7 to compile the project, if first time compiled. Otherwise a rebuild all (ALT + F7) is required!
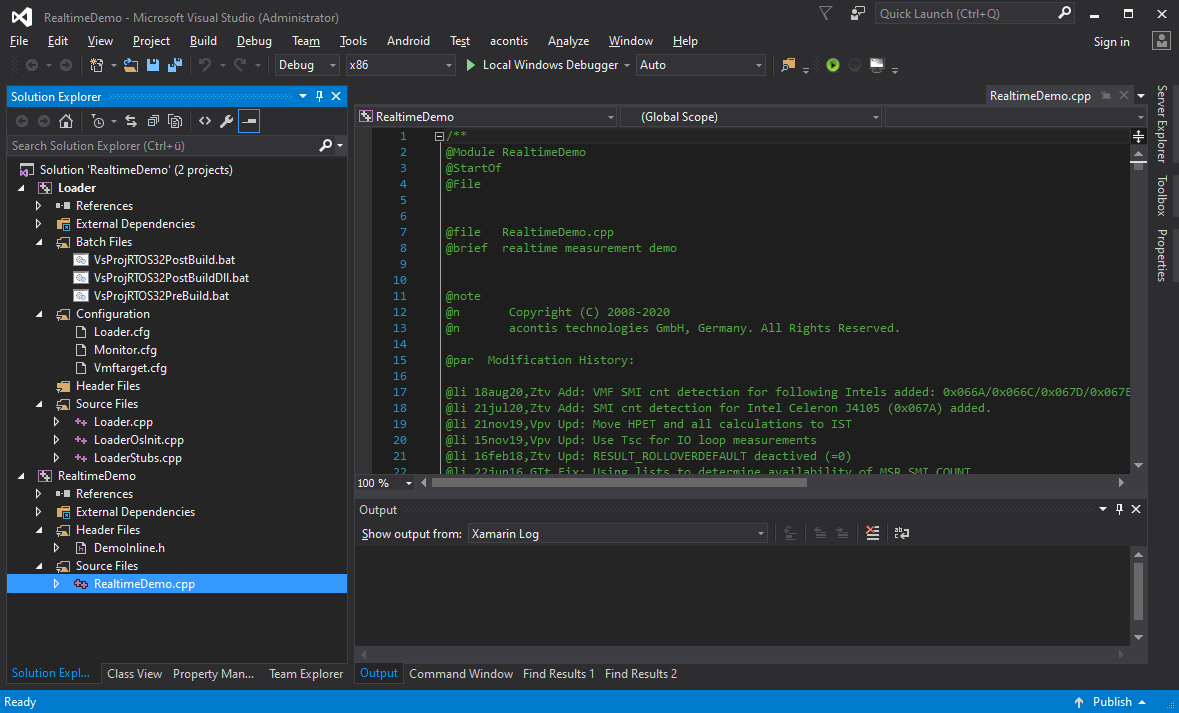
Fig. 2.10 Visual Studio contains the generated source project.