3. Quickstart Tutorial
This section gives a quick introduction into the System Manager configuration tool.
Hint
You should have read the Hypervisor Quickstart Guide as well as the Hypervisor Windows Guest Guide and the previous chapters in this manual before continuing here.
Caution
Once you have created a Hypervisor configuration with the System Manager, you cannot run the example guests anymore!
3.1. Browser installation
The System Manager is a web based tool. In a first step you need to install a web browser. Open a Terminal and run the following commands.
sudo apt-get install firefox
After some time the installation will finish. You can start the browser:
firefox&
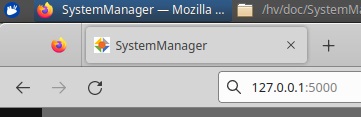
Open the browser and type in the localhost IP address 127.0.0.1 and connect to port 5000.
The following URL can be used: http://127.0.0.1:5000
3.2. Local Connection
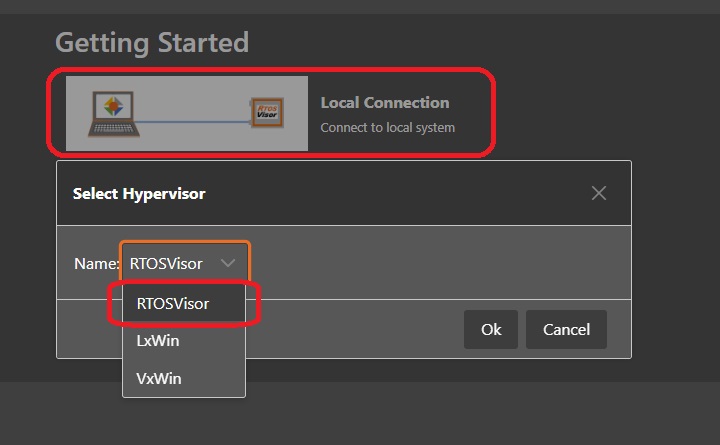
To connect the browser with the Hypervisor backend, please select Local Connection and the respective hypervisor type (RTOSVisor).
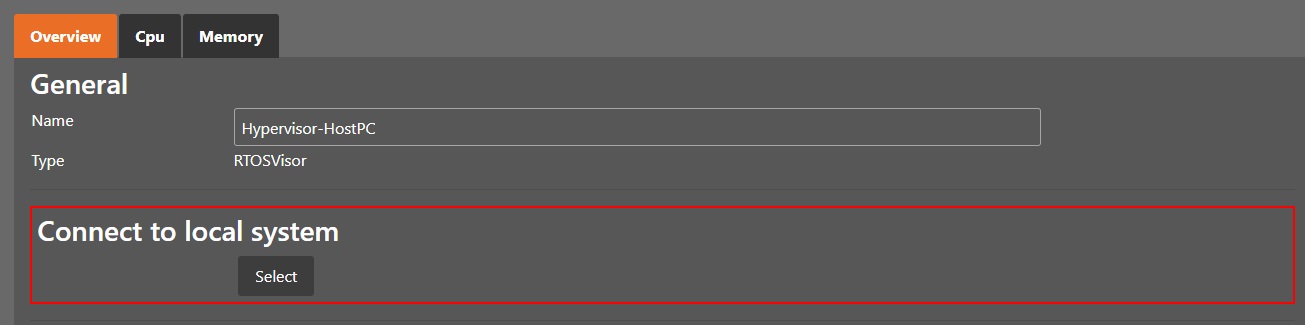
After acknowledging Connect to local system, the Hypervisor Host connection dialog will be shown.
You should provide an appropriate name for this Hypervisor Host and press the Select button.
3.3. Synchronization
3.3.1. Paradigm
The configuration paradigm distinguishes between
The currently active configuration (guests, hardware partitioning, hardware information, …). The currently active configuration is stored in the Hypervisor computer.
The desired configuration is temporarily stored in the System Manager and can be changed by user interaction (e.g. add additional guests).
Synchronization: synchronize the desired configuration and the active configuration.
When the System Manager is started for the first time, no desired configuration exists.
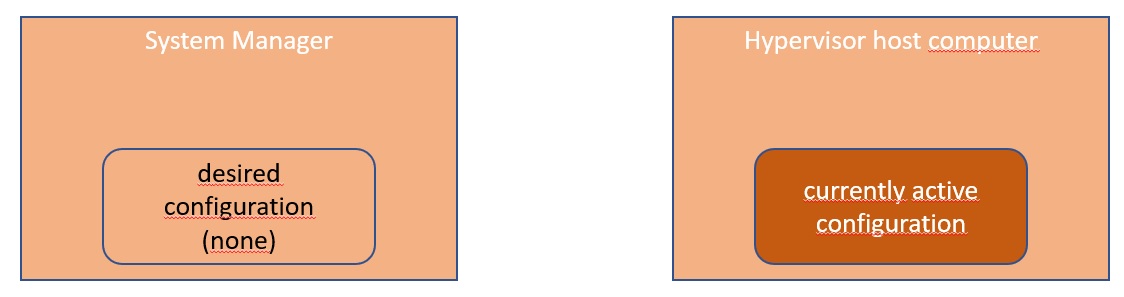
We will need to synchronize first, to load the currently active configuration stored in the Hypervisor computer into the System Manager. After this step, the desired configuration is identical to the currently active configuration.

Then you will modify the configuration (e.g. adding guests). All these steps are done within the System Manager only, the currently active configuration will not be changed.

While you are working on the desired configuration, the Sync button will look as follows:
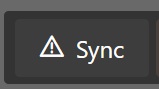
If you have finished changing the configuration, you must synchronize again to bring the new configuration into effect.

After successful synchronization, the Sync button will look as follows:

3.4. Initial Synchronization
When you have started the System Manager for the first time, you need to run an initial synchronization step.
Press the Synchronization button.
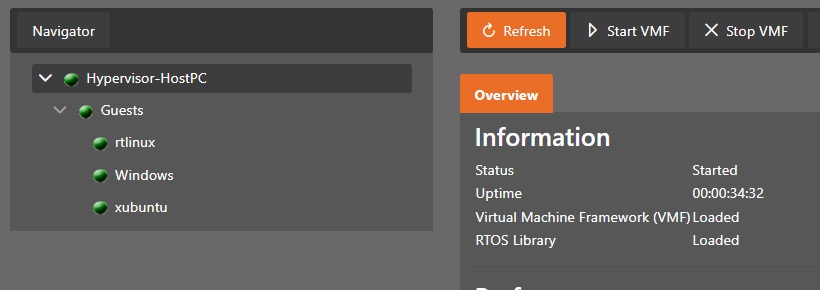
And acknowledge the following dialog (press the Apply button). After successfully synchronizing the configuration, the result should look similar to this:

3.5. Add Real-time Linux guest
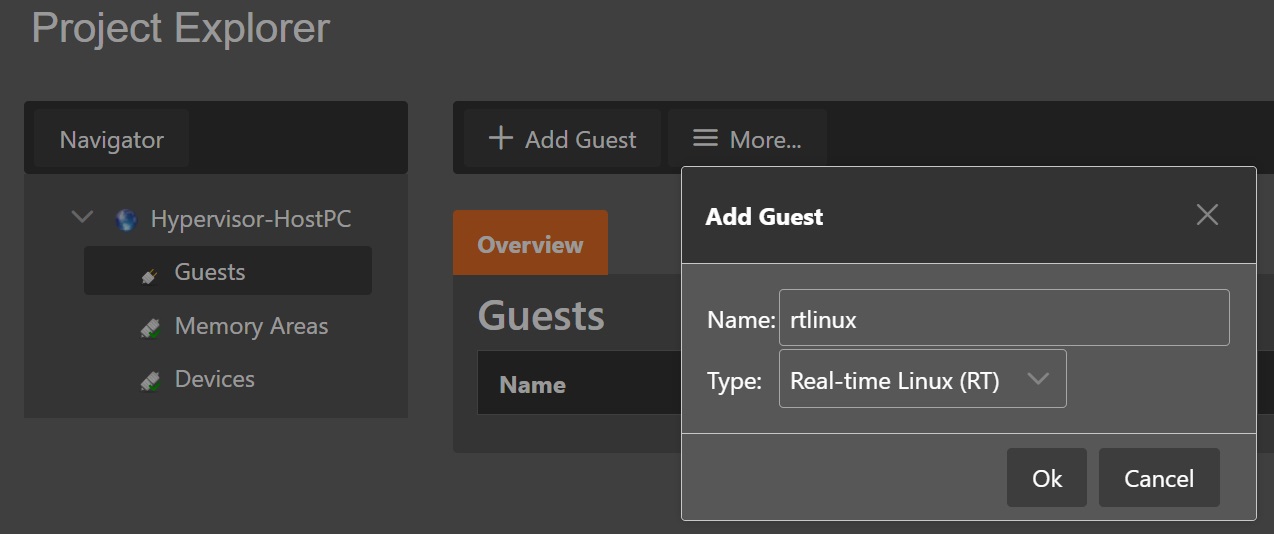
Select Guests in the tree view on the left side, then select Add Guest. In the Add Guest dialog, adjust the name of the guest to rtlinux and select Real-time Linux (RT) for the guest type.
Select the rtlinux guest in the tree view and adjust the memory size to 240 MByte.

Finally, select the Hypervisor Host (e.g. Hypervisor-HostPC) and press the Sync button to write the modified synchronization to the Hypervisor Host. You will get an overview of the configuration changes made. Prior to apply these changes you may verify if the changes match your expectation.

After the new configuration was successfully written, the Sync button changes to the clean state:
3.6. Add Ethernet adapter to Real-time Linux guest
3.6.1. Determine the desired adapter
If your computer has multiple Ethernet adapters, you will have to determine the right one.
In a first step, please physically disconnect the Ethernet cable from the Ethernet device which shall be assigned to the RT-Linux guest.
Now we need to update the device information (in case the cable had been connected before). Select the Hypervisor Host (e.g. Hypervisor-HostPC) and press the Update Device Details entry below the More… combo-box.

After updating the device information, select the Devices tab in the tree view on the left side (do not select the Devices tab in the rtlinux guest!).
Then unfold the Ethernet controller entries, select one of the Ethernet controllers and press the Details button.

You will see various information about this Ethernet controller, one of these informations is the Link status. If it is set to no, no cable is connected.

Then you should physically connect the Ethernet cable to the adapter and assure it is connected to a powered on switch. Update the device details again and check if the Link status now has changed to yes. If this is the case, you have correctly determined the desired adapter, remember its name for later.
3.6.2. Assign the desired adapter to the guest
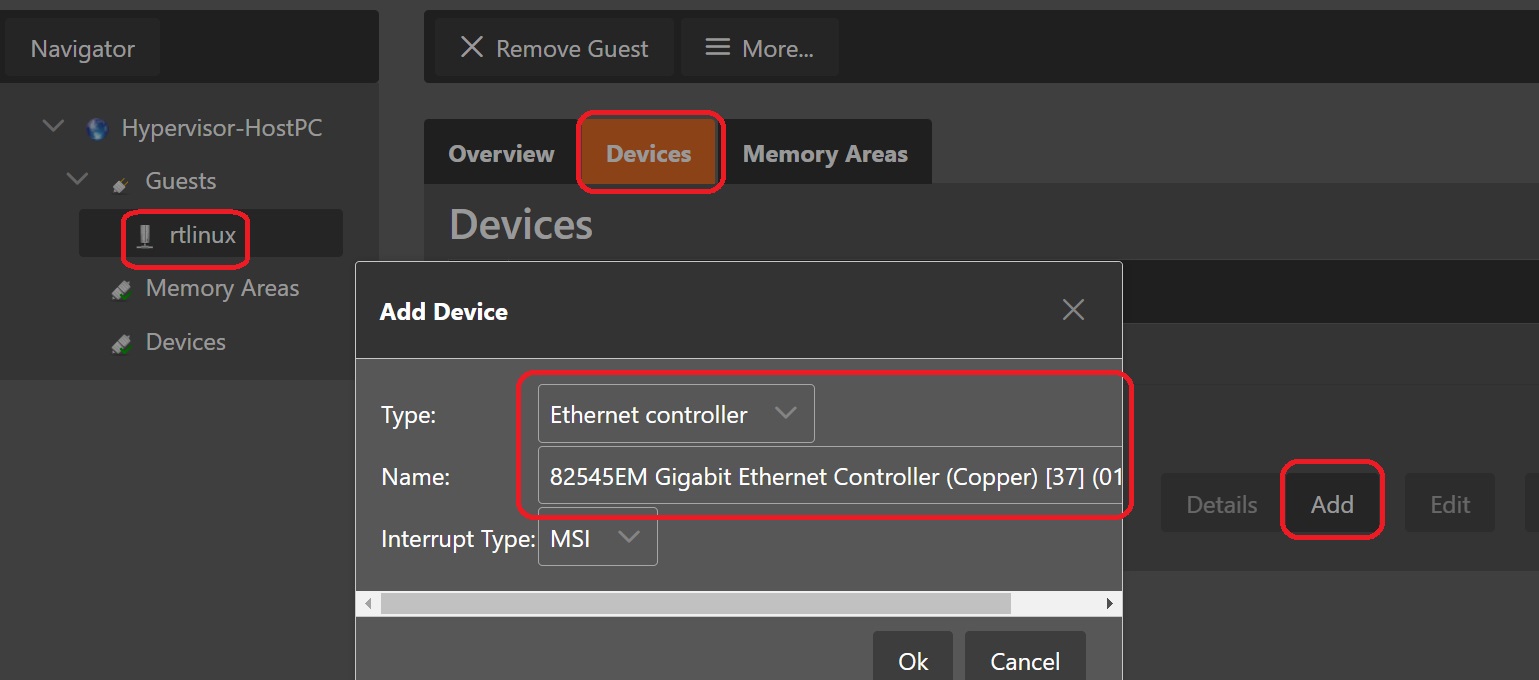
Now you need to select the rtlinux guest again, switch to the Devices tab in the guest view, press the Add button and select the Ethernet adapter you want to assign to Real-time Linux.
Verify the result by selecting selecting the Hypervisor Host (e.g. Hypervisor-HostPC) and switch to the Devices tab.
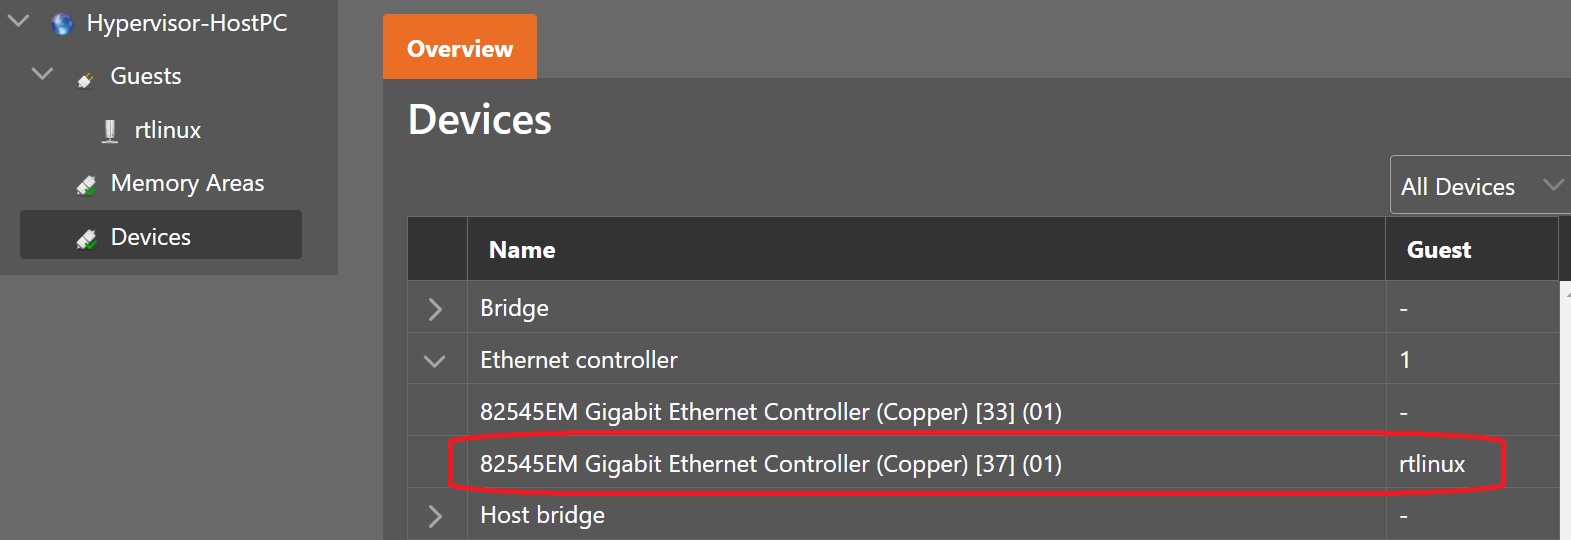
In a final step, you must again synchronize your changes, by pressing the Sync button in the Hypervisor Host section.
3.7. Start the VMF (Virtual Machine Framework)
Before we can launch the Real-time Linux guest, we need to start the Virtual Machine Framework (VMF). The VMF will load all configuration information into memory (e.g. partitioning information about the CPUs to be used for Real-time Linux, memory usage, device usage).
In addition, the VMF provides basic services for the Real-time Linux OS (timer handling, virtual console, …). And finally, the VMF provides communication services for all guests to interact with each other (the Communication Subsystem).
Caution
Every time the configuration has changed, the VMF needs to be restarted to make the updated configuration effective.

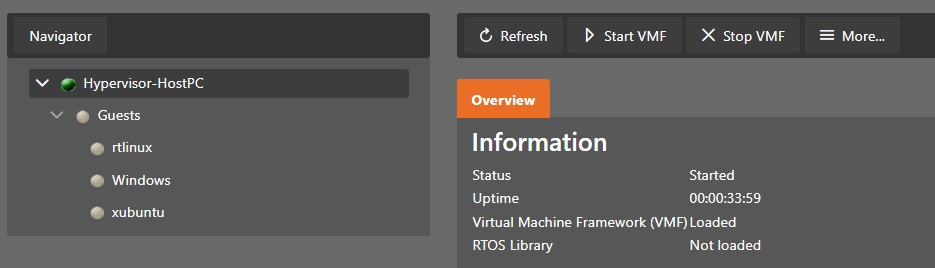
Switch into the Run mode and press the Start VMF button.

Hint
You may get an error message RTOSVisor host reboot is required.
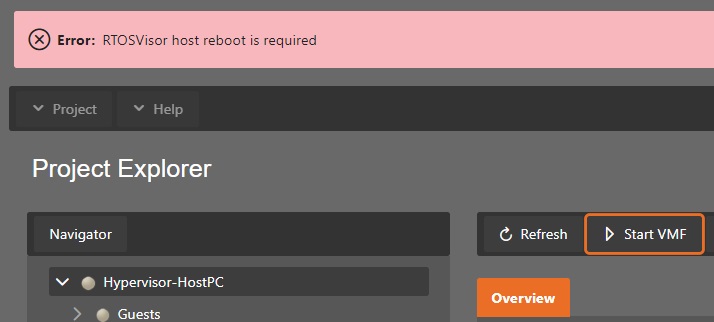
In that case, switch back into Config mode, select the Hypervisor Host and press the Reboot button.
After rebooting, you need to refresh the browser, re-connect with the Hypervisor Host, synchronize, switch into Run mode and try to start the VMF again.

3.8. Launch the Real-time Linux guest
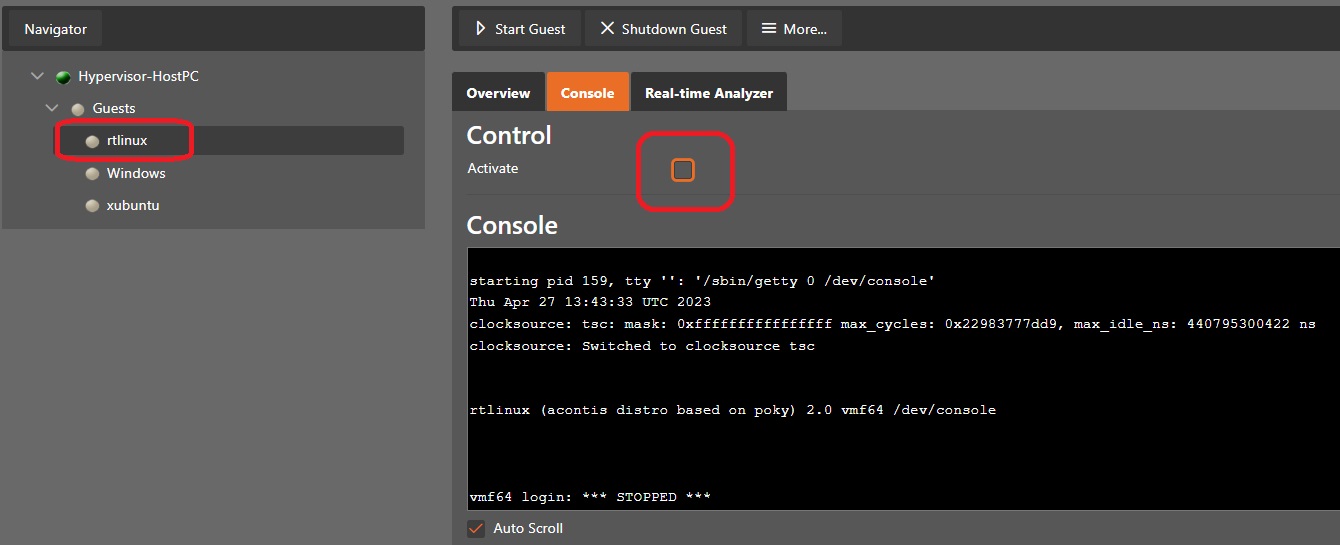
Switch into the Run mode, select the rtlinux guest and press the Start Guest button.

After you started the guest, you need to wait for some time and finally the status indicators should have switched to green.
Select the rtlinux guest in the tree view and then switch into the Console tab in the right part. You will see the boot messages of Linux and finally you will be able to log in into the Linux shell (user = root, password = root).
Finally you can shutdown the guest by pressing the Shutdown Guest button.
If you prefer to use a local terminal to work with the guest console, you must de-activate the console before starting the guest.
3.9. Commandline operation (Shell)
/hv/guests folder.Hint
If multiple guests are created by the System Manager, please use the guest identifier to find the respective folder where the guest is located.
Please open a shell terminal and type in the following commands.
cd /hv/guests/guest0001
hv_guest_start
hv_guest_console
You will see the guest booting and you may log in into the Real-time Linux guest.
Press Ctrl-C and then shutdown the guest.
cd /hv/guests/guest0001
hv_guest_stop
3.10. Add Windows guest
Caution
Assure that the Real-time Linux guest is not running before continuing with this section.
3.10.1. Preparations
There are two options, how to set up a Windows guest.
Install a new virtual machine (VM) based on an ISO installation media.
Re-use an existing VM (an existing guest from a previous configuration).
In case you want to install a new VM, you need to copy the installation media onto the Hypervisor Host. How to accomplish this is described in the Windows Guest Guide.
In case you want to re-use an existing VM you need to copy the following files onto your Hypervisor Host (into the same folder):
all
.qcow2filesthe
OVMF_CODE.fdfilethe
OVMF_VARS.fdfile
3.10.2. Add the guest
In the next step we will add a Windows guest. This guest runs under control of the KVM Hypervisor. We will also enable connection to the Communication Subsystem which will allow communication between the Windows guest and Real-time Linux.


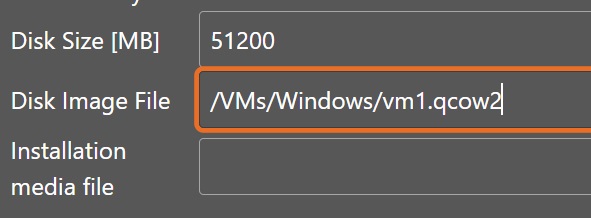
You may adjust some basic properties in the Overview tab of the guest.

Caution
The Disk Size will become effective only, when a new VM is created. If the disk size shall be adjusted at a later time, you need to use the qemu-img tool. See here for more information: https://blog.programster.org/qemu-img-cheatsheet
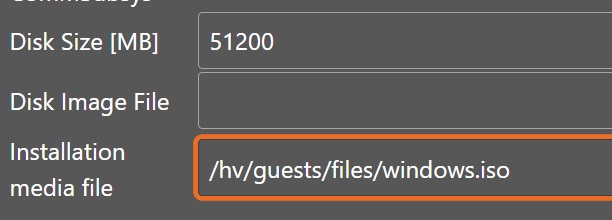
If you want to install a new VM, insert the installation media file in the Installation media file edit field:
If you want to re-use an existing VM, insert the .qcow2 file in the Disk Image File edit field:
You need to press the Sync button to make the configuration effective.
3.11. Launch the Windows guest
Switch into the Run mode, select the Windows guest and press the Start Guest button.
After you started the guest, you need to wait for some time and finally the status indicators should have switched to green.
Select the Windows guest in the tree view and then start the guest viewer via the More… combo-box.
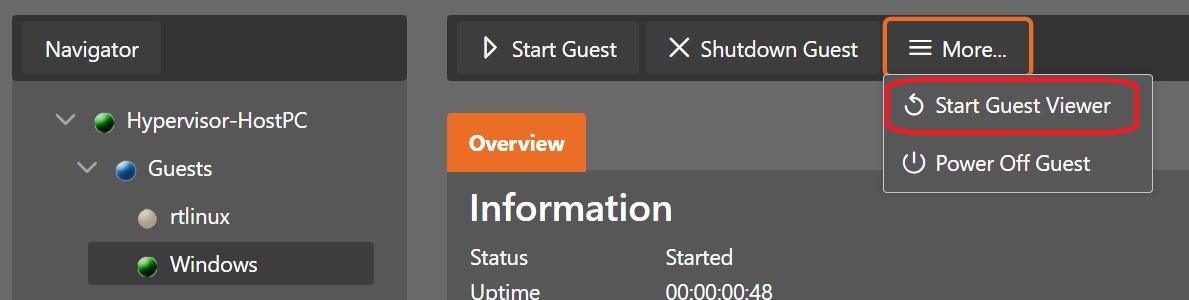
In case you will get an error No Display device defined, please login via the graphical desktop and run the command: hv_sysmgr restart, then you need to start a terminal in the Hypervisor Host (not in a remote logged in shell) and run the hv_sysmgr restart command. After running this command you need to refresh the browser and reconnect again.
Hint
You can launch the viewer also from a shell console in the Hypervisor Host.
cd /hv/guests/guest0002
hv_guest_console
If you have chosen to install a new VM, please follow the instructions in the Windows Guest Guide on how to install such VM.
Finally you can shutdown the guest by pressing the Shutdown Guest button. Shutdown of a KVM guest may take some time. The System Manager will not wait until the shutdown finished. If you want to verify if the guest actually is shut down, you need to select the Hypervisor Host and press the Refresh button.

3.12. Start and/or stop all guests
If you want to start or stop all guests, switch into the Run mode and press the Start all Guests or Stop all Guests button in the More… menu. Please note, you must start the VMF before starting any guests. This will initiate the startup or shutdown of the guests. The System Manager may not correctly show the status of the guests.
You should press the Refresh button to update the guest status.