14. Miscellaneous
14.1. Changed Hardware
After changing the hardware and restarting the Hypervisor Host you should load your project in the System Manager and synchronize these changes with your project. There are two ways to achieve this:
You can use the ‘Sync’ button to directly insert the changed hardware information into the project. The System Manager will automatically adjust the project settings based on the information about the hardware changes. Then the project will be automatically saved.
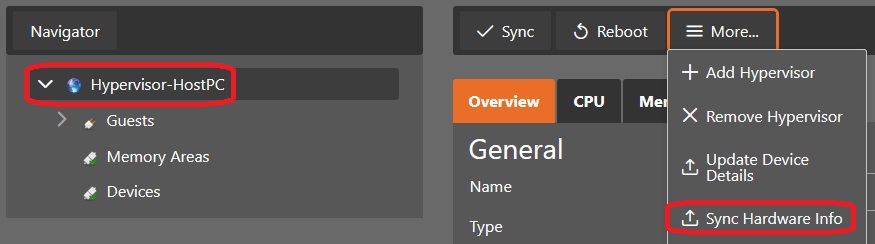
Another option is to load the project and use the ‘Sync Hardware Info’ menu to read the changes. The System Manager will automatically adjust the project settings based on the information about the hardware changes but the modifications will not be saved to the project. Now you can modify the project settings and then insert them to the current project using the ‘Sync’ button.
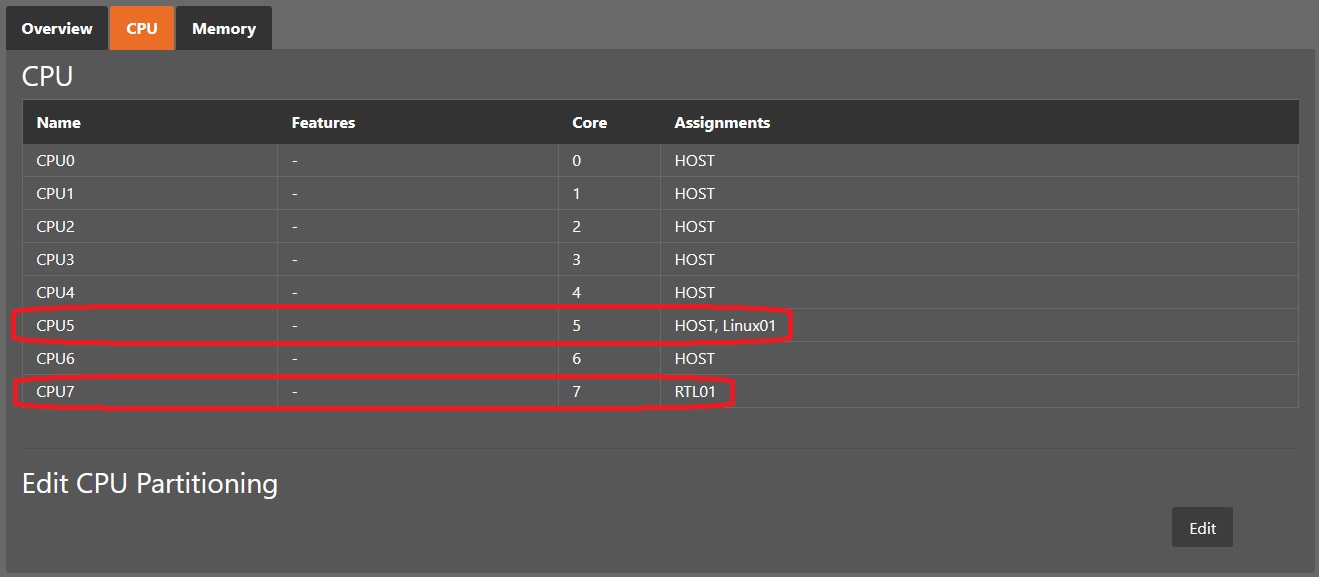
In the following example, we have a Hypervisor Host with activated hyperthreading and 8 logical CPUs. A real-time Linux was assigned to CPU 7 with the designation RTL01 and a general purpose Ubuntu was assigned to CPU 5 with the designation Linux01.
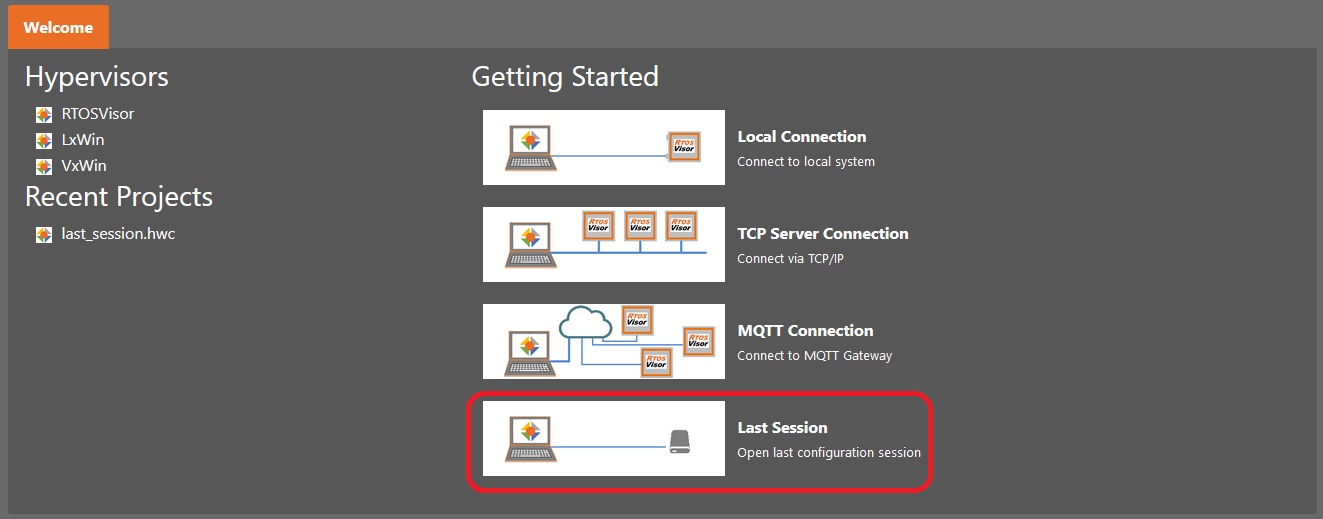
The Hypervisor Host was shut down and hyperthreading disabled in the BIOS settings which results in 4 CPUs. After booting the Hypervisor Host the saved project or the last Session is restored.
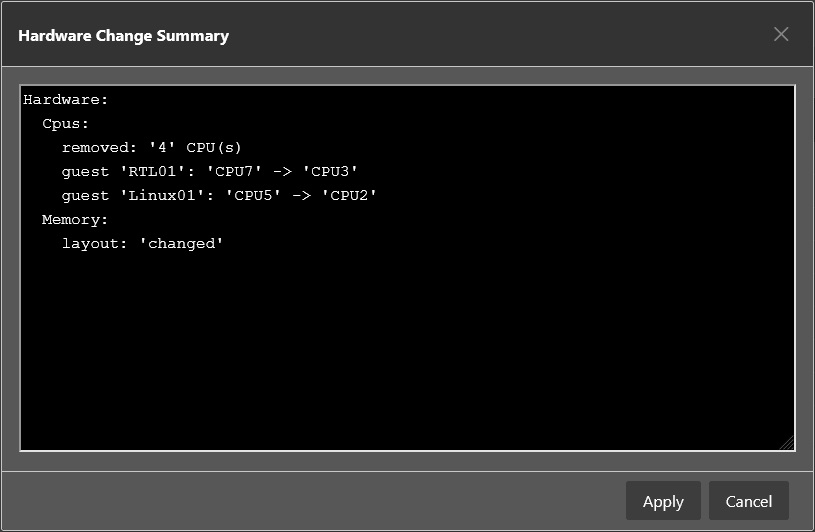
Now changed hardware info can be retrieved with Sync Hardware Info.
The new CPU Partitioning is adopted automatically to the changed CPUs.
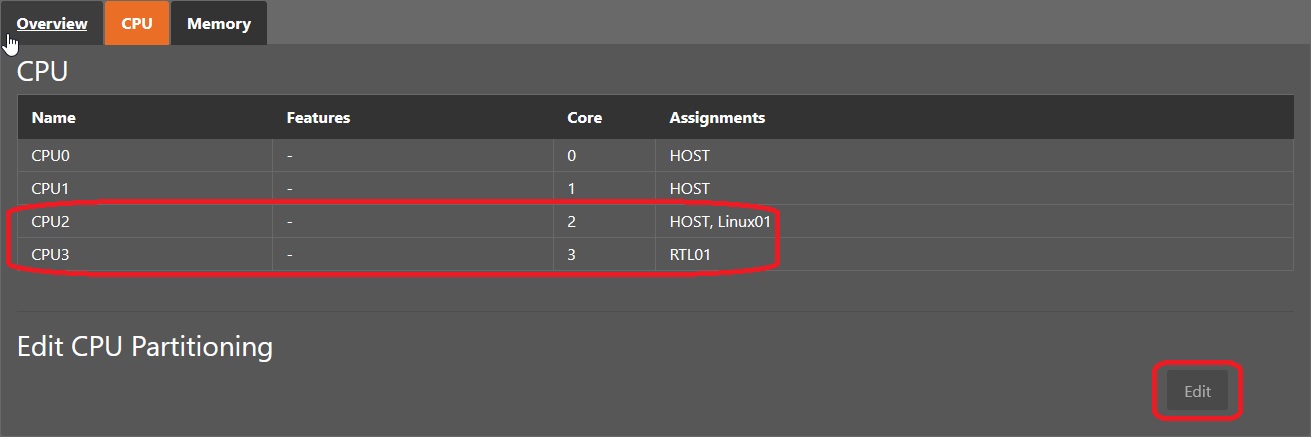
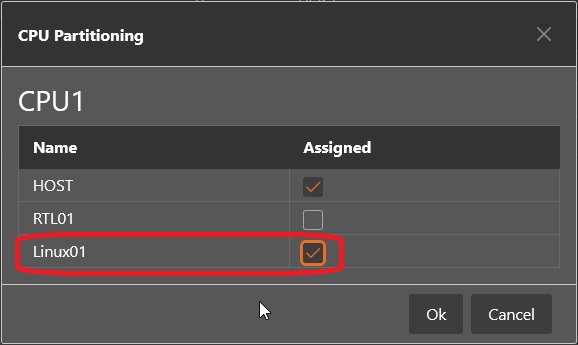
Now you can edit the CPU Partitioning to fit your needs.
After adjusting the hardware settings in your project press the ‘Sync’ button.