1. Introduction
The System Manager is a web based tool (a Web Application) for configuration and diagnosis of the acontis hypervisor products. To show the graphical user interface, a web browser is required. Hypervisor configuration can be executed on the Hypervisor Host or remote via an IP connection. In addition, it is possible to connect to the Hypervisor Host via a MQTT gateway over the cloud.
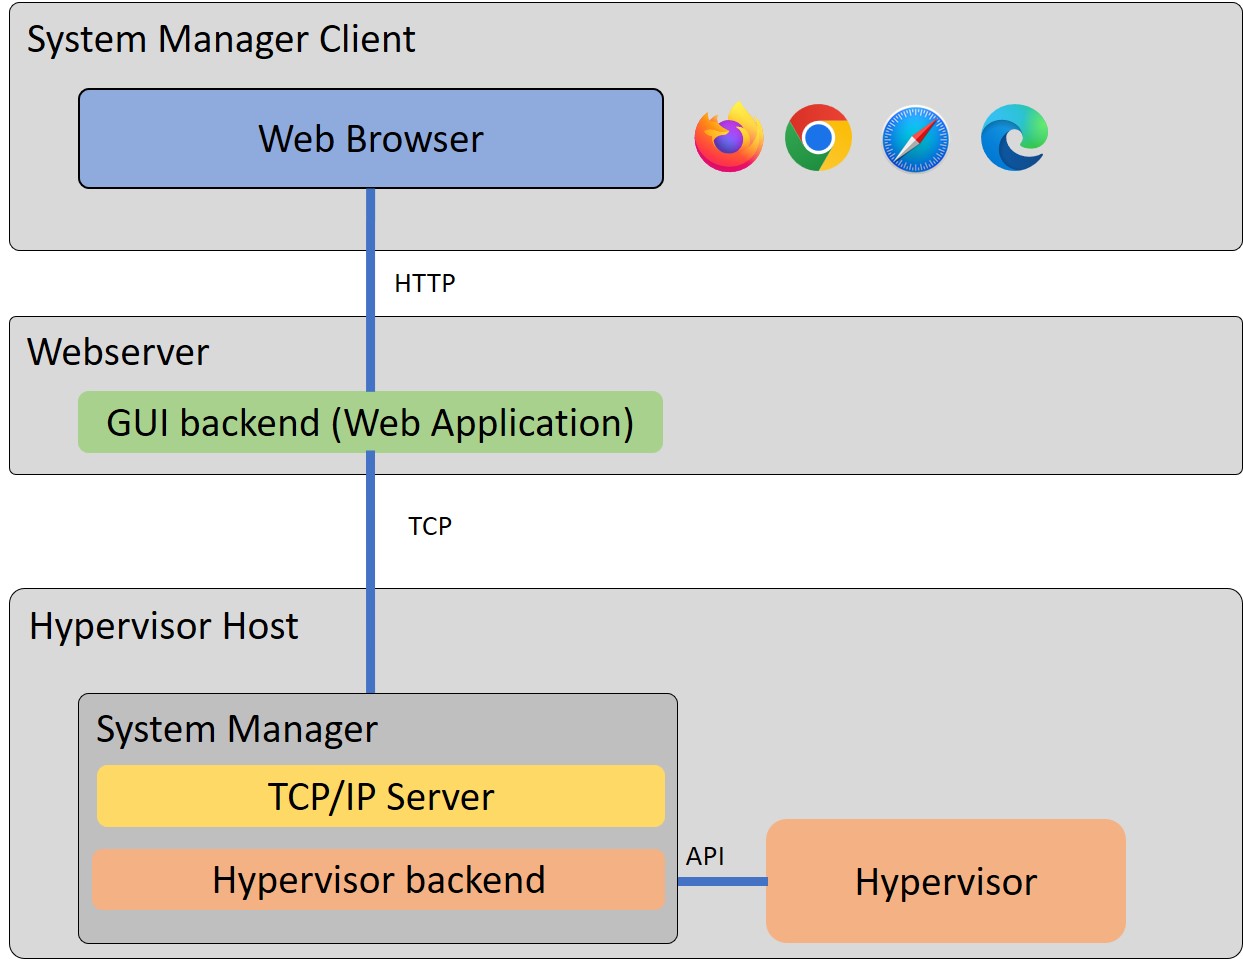
The System Manager consists of several components:
Hypervisor backend: this is the interface to the Hypervisor Host. This backend interacts with the hypervisor (running on the same Hypervisor Host), e.g. to add guests, adjust configuration files etc. (see chapter Hypervisor Backend)
GUI backend (Web Application): this is the interface to the web browser. The web browser always connects to the GUI backend.
TCP/IP server: If the GUI backend and the Hypervisor backend run on different computers in the same network, they can be connected via TCP/IP. The Hypervisor Host and the GUI backends then will communicate over TCP/IP.
MQTT gateway: If the GUI backend and the Hypervisor backend run on different computers in different networks or even at different physical locations, they can be connected via a MQTT broker.
MQTT test broker: The test broker may be used in conjunction with the MQTT gateway if there is no MQTT broker available. This is NOT recommended and NOT supported for production environments!
1.1. Architectures
The modular design of the software allows different system architectures.
All components on the Hypervisor Host

Using the web browser on a System Manager Client

With TCP/IP Server
MQTT Broker in the cloud

1.2. Installation and Update
1.2.1. RTOSVisor - Default Installation
The RTOSVisor is shipped with a default installation of the System Manager, its location is in /hv/sysmgr.
The System Manager can only be used after the basic RTOSVisor initialization has been executed.
How to initialize the RTOSVisor is described in the Hypervisor Quickstart Guide.
1.2.2. Windows Installation
If the System Manager (or the GUI backend) shall be executed on a Windows computer, you will have to manually install the System Manager on such computer.
you have to request the system manager deliverable from the acontis support
copy the compressed system manager deliverable (e.g. HvWebApp_Windows-x64_V1.0.16.zip) into any folder where you want to use it later.
uncompress the deliverables and then remove the compressed file
copy everything from _patches
md V1.0.16\HvWebApp_Windows
uncompress to V1.0.16\HvWebApp_Windows
xcopy /e V1.0.16\HvWebApp_Windows\Templates\_patches\*.* V1.0.16\.
call V1.0.16\HvWebApp_Windows\HvSystemManager.exe
1.2.3. Linux Installation
If the System Manager GUI backend shall be executed on a separate Linux computer (i.e. not the Hypervisor Host), you will have to manually install the System Manager on such computer.
Caution
On the Hypervisor Host you must install the System Manager in hv/sysmgr.
On other Linux machines you can store the System Manager in any folder where you want to use it.
you have to request the system manager deliverable from the acontis support
copy the compressed system manager deliverable (e.g. HvWebApp_Linux-x64_V1.0.16.tar.gz) into this folder
uncompress the deliverables and then remove the compressed file
copy patch files
create doc directory
cd /hv/sysmgr
tar -xvzf HvWebApp_Linux-x64_V*.tar.gz
rm HvWebApp_Linux-x64_V*.tar.gz
cd ..
mkdir doc
Hint
If you get a message that SSL is missing you can install it from the Ubuntu 18 repository.
echo "deb http://security.ubuntu.com/ubuntu bionic-security main" | sudo tee -a /etc/apt/sources.list.d/bionic.list
sudo apt-key adv --keyserver keyserver.ubuntu.com --recv-keys 3B4FE6ACC0B21F32
sudo apt-get update
sudo apt-get install libssl1.0.0
sudo rm /etc/apt/sources.list.d/bionic.list
sudo apt-get update
1.2.4. RTOSVisor - System Manager Update
This section shows how to update to a later version of the System Manager for the RTOSVisor.
Stop the System Manager
hv_sysmgr stop
Preserve the old version and create a new folder in the Hypervisor Host
mv /hv/sysmgr /hv/sysmgr.orig
mkdir /hv/sysmgr
Then follow the steps in Linux Installation
Start the System Manager
hv_sysmgr start
1.3. System Manager control
Once the Hypervisor Host has been initialized, the System Manager backend will be executed automatically (as a service) when the computer is booted.
This is controlled by the /hv/services/hv_sysmgr.service file.
Various commands are provided for System Manager control and diagnosis by calling the hv_sysmgr command.
You can execute this command to see a quick overview of the supported commands.
hv_sysmgr
System Manager running as a service. Output stored in /hv/sysmgr/sysmgr.log
System Manager Service running
Syntax /usr/bin/hv_sysmgr [status | debug=on | debug=off | log | clearlog | start | restart | stop | enable | disable ]
status: show current status.
log: show log file.
clearlog: clear log file content.
stop: stop the System Manager.
start: start the System Manager.
restart: restart (stop, then start) the System Manager.
disable: disable System Manager service (it will not be started automatically after reboot).
enable: enable System Manager service (it will be started automatically after reboot).
debug=on: enable additional debug messages.
debug=off: disable additional debug messages.
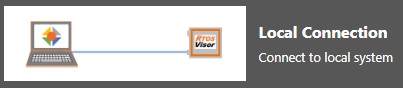
1.4. Local operation
Local operation means, the Hypervisor backend as well as the GUI backend run on the Hypervisor Host.
1.4.1. The System Manager backend
Caution
Prior to configuring the system using the System Manager you have to initialize the Hypervisor and reboot the system. See the Hypervisor Quickstart Guide for details.
The RTOSVisor will automatically start the System Manager backend.
Hint
If you want to directly start the System Manager backend in the RTOSVisor (without using the hv_sysmgr command), you need to stop the System Manager first.
hv_sysmgr stop
Then you can execute the following commands.
cd /hv/sysmgr
sudo ./HvSystemManager
Hint
You can type ./HvSystemManager /help to get information about supported commandline arguments
1.4.2. Local Browser
If you want to configure the system locally (on the computer where the hypervisor is running), you need to install a web browser first.
sudo apt-get install firefox
After some time the installation will finish. You can start the browser:
firefox&
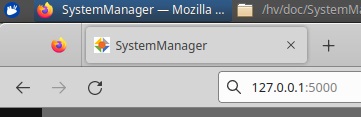
Open the browser and type in the localhost IP address 127.0.0.1 and connect to port 5000.
The following URL can be used: http://127.0.0.1:5000
1.4.3. Remote Browser
If you want to run the browser on another system (e.g. on your Windows or Linux workstation), you need to have a TCP/IP connection between the computer where the browser is running and the Hypervisor Host.
Open the browser and type in the IP address or the computer name of the Hypervisor Host and connect to port 5000. The computername can be determined by calling the following command on the Hypervisor Host:
hostname
in case the hostname is hypervisor-PC1, the following URL can be used:
http://hypervisor-PC1:5000
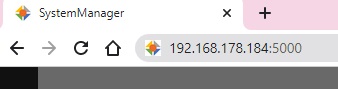
alternatively, in case the IP address is 192.168.178.184, the following URL can be used:
http://192.168.178.184:5000